Graphics Programs Reference
In-Depth Information
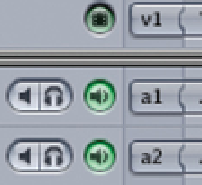
monitoring buttons. These controls give you the means
to quickly isolate an audio track for monitoring
purposes. The speaker icon does the same as the green
radio buttons, whereas by clicking the headphone
indicator this will switch off all tracks except that which
you have just selected. This can be more efficient than
isolating each of the tracks individually.
At the bottom left of the Timeline there is a symbol that looks
like two mountains - this is called Clip Overlays. Later, as you
get into the editing and sound mixing process, you will find this
facility extremely useful for adjusting audio levels and setting the opacity of
video clips.
To the right of Clip Overlays are four little boxes. These boxes
affect the size of the clips as they are displayed in the
Timeline. This is useful for increasing the visual size of the clips if you are
working with a monitor which is cramped for screen real estate.
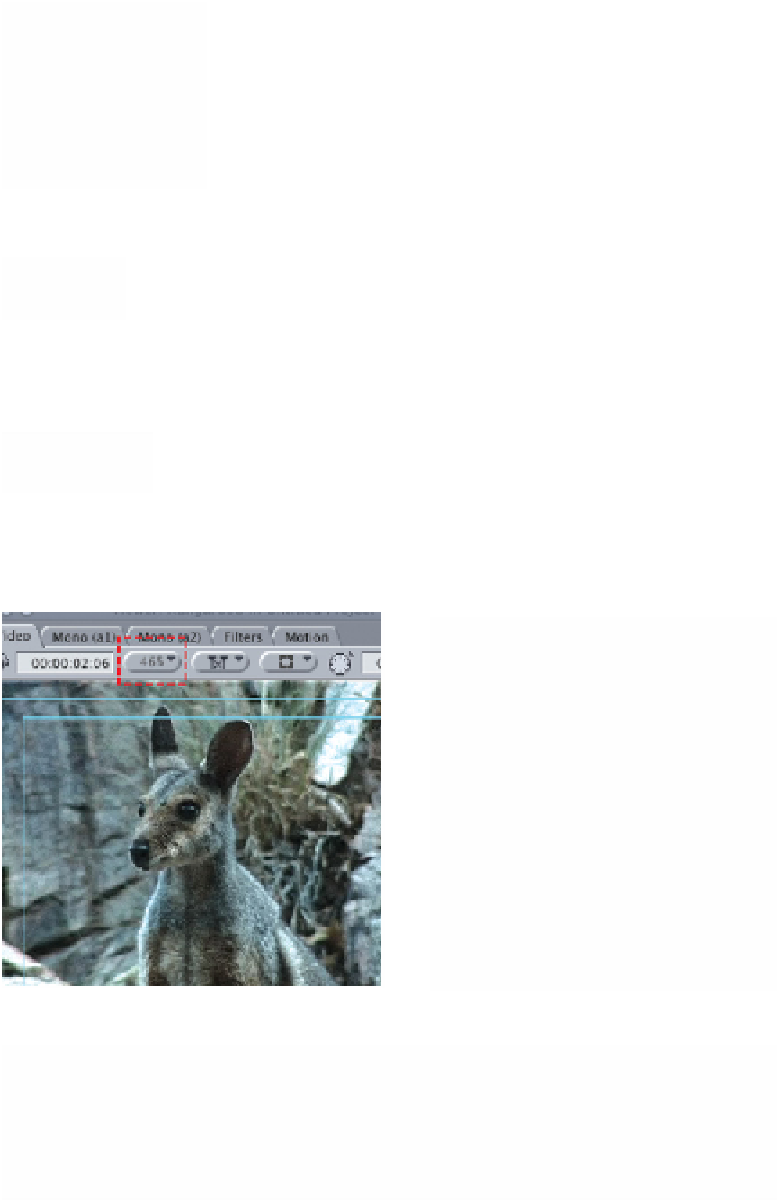
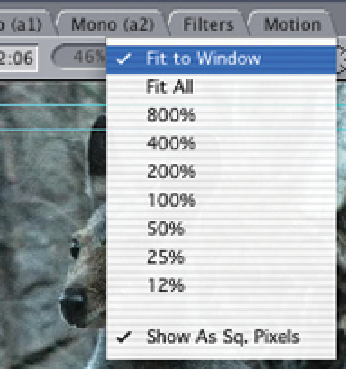
The following point is very important to take note of: look to the top of the
Viewer and Canvas, just below the tabbed sections. You will notice there is a
button with a percentage value in it. Click this button and it will reveal a series
of numeric values - always keep this set to Fit To Window and have Show As