Graphics Programs Reference
In-Depth Information
■
8
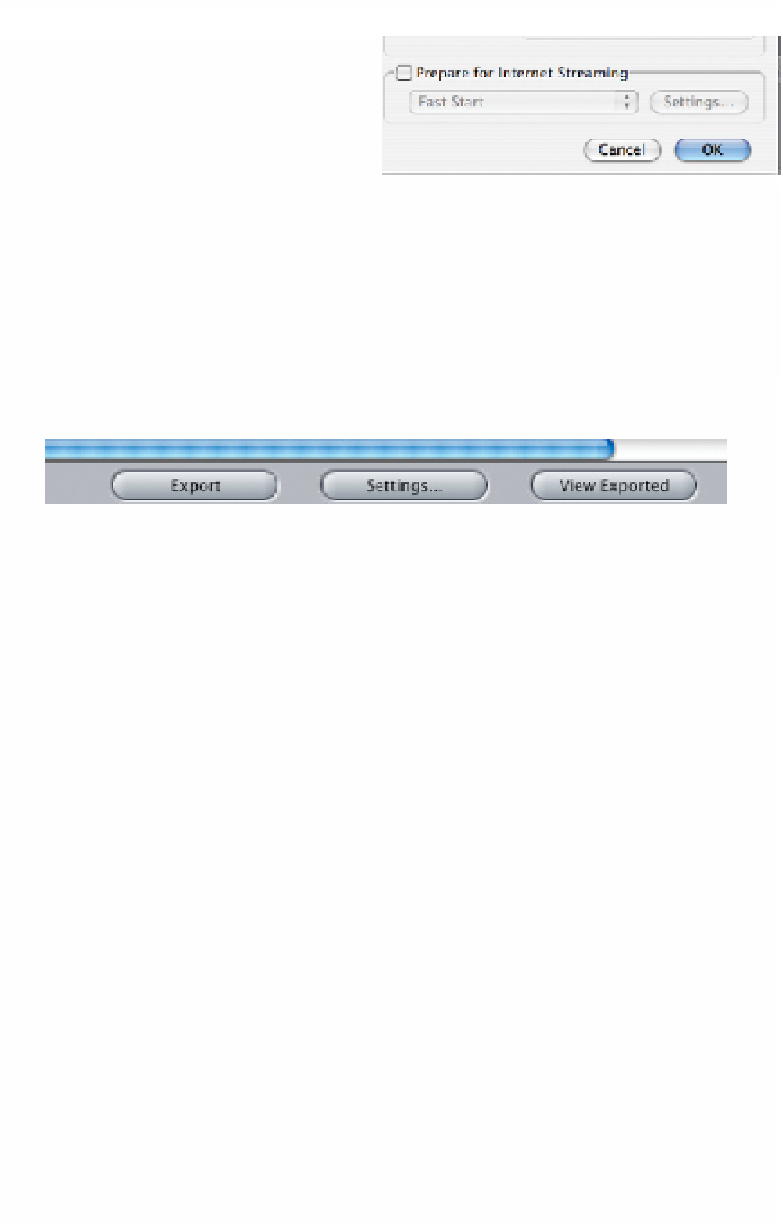
Once you have set the Codec,
back in the Movie Settings
window uncheck the box
where it says Prepare for
Internet Streaming. Click OK.
■
9
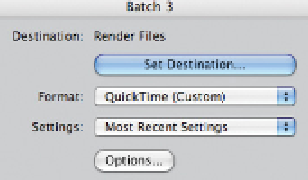
Now, back at the Batch Window - check
the Destination has been set. This is
where your encoded files will end up
on hard drive.
Once the destination is set press OK.
■
10
Now - back at the Export Queue window you are ready to encode.
You have set the video format and destination, now press Export and all
the files you have selected will be encoded to the format and location
you have specified.
Wait and be patient. When you are converting to DVCPro HD it is going to take
time. Don't forget you're coming from HDV which is muddy to begin with.
What you are doing is sifting through the mud and cleaning it all up to work,
literally, as a frame-based codec.
My experiences with editing DVCPro HD is that the format is super robust.
No crashes for days on end. The downside to DVCPro HD is that it takes up
4 times the space of DV or HDV, so therefore a 500 GB drive which gives close
to 37 hours of storage when working with DV or HDV will give less than
10 hours when working with the DVCPro HD codec.
The Apple Intermediate Codec (AIC)
An alternative to editing HDV is to edit with what is known as the Apple
Intermediate Codec or AIC. This is a frame-based codec which, like DVCPro HD,
produces large file sizes. 1080i AIC clips are four times the size of DV or HDV files.