Graphics Programs Reference
In-Depth Information
dropped frames may be encountered during normal
playback and the problem will be cured when the Print
to Video instruction is given.
Selecting Print to Video is often the final stage of the
editing process. Think of it as getting the release print
off to the lab once the hard work in the cutting room
has been done.
■
1
Select the File menu at the top left of Final Cut
Pro and scroll down to Print to Video.
■
2
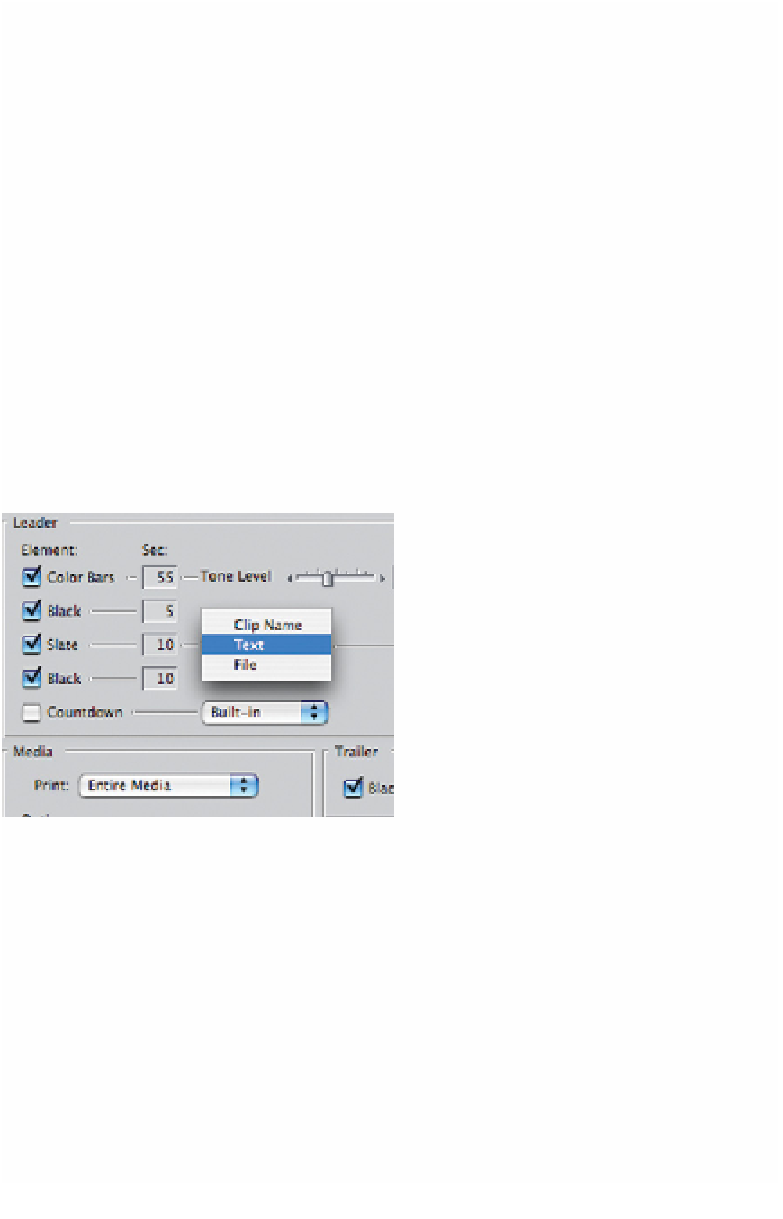
Release the mouse button and a box will appear
giving you many options to choose from. Check
those boxes which apply to your specific needs.
Add color bars if you wish and enter
a duration for the amount of bars
you wish to record. Instruct Final Cut
Pro if you want black to be recorded
after the bars. Enter a title for your
production in the text column and
select Print Entire Media or Print In
to Out depending upon your require-
ments. If you choose the Print In to
Out option you need to mark 'in'
and 'out' points in the Timeline.
■
3
Once you are satisfied that you have correctly selected the options you
require click the OK box. The computer will pause as all the elements
are gathered together.
Now sit back and enjoy your movie. It is worth keeping a close eye on the
output. Print to Video is the last stage in the editing process (unless you are
using it to label sections of a work in progress) and therefore it is wise to make
sure everything is exactly right as the signal is recorded onto tape. Once you
have at least one master safely dubbed you can relax knowing that the vital


