Graphics Programs Reference
In-Depth Information
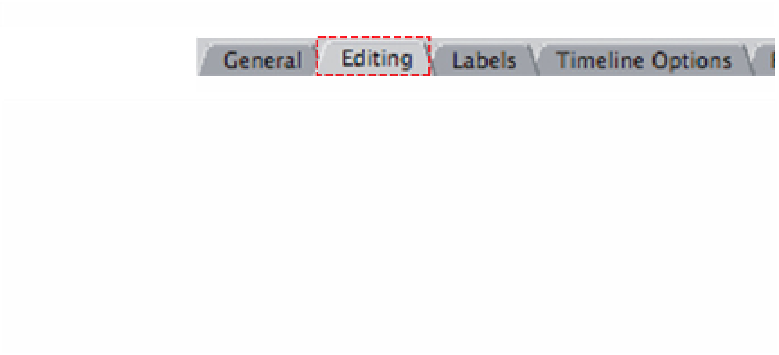
The amount of keyframes plotted by the Record Audio
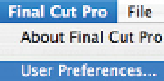
Keyframes button is adjustable. Click the Final Cut Pro menu,
scroll to User Preferences and choose the Editing Tab.
To the right is the
Record Audio
Keyframes command.
From the drop-down menu are three choices: All, Reduced or Peaks Only.
All Audio Keyframes
Reduced Audio Keyframes
Adjusting and Recording Audio Keyframes
■
1
Position the yellow Scrubber Bar at the beginning of the section of
audio you wish to mix.
■
2
Click the Record Audio Keyframes button at the top of
the mixer. The button will change from gray to green
indicating that it is now active.
■
3
Play the Sequence and adjust the fader, or set of two faders which are
linked as Stereo Pairs, and mix the sound in real time.
■
4
When you have finished your mix press the Space Bar to stop. Press
the Record Audio Keyframes button to switch it off. This is important,
as it is possible to inadvertently record over your mix.
If you are happy with the result carry on working, otherwise you can choose to
make slight adjustments inside the Timeline using the Rubberbanding
technique, or remix if necessary.
I find it useful to mix a single track at a time, or a set of Stereo Pairs, and then
to repeat the procedure on another set of Stereo Pairs, or individual tracks, if
necessary.