Graphics Programs Reference
In-Depth Information
■
1
Add a Filter to a clip by dragging it from the Effects tab onto a clip in
the Timeline. I suggest using a Gaussian Blur for the purpose of this
exercise. Make sure the clip you are working with is no shorter than
10 seconds in duration.
■
2
Make sure the Pointer tool is selected. Double click the clip in the
Timeline to which the Filter has been added. This will make the clip
active in the Viewer.
■
3
Position the yellow Scrubber Bar on the beginning of the clip in the
Timeline.
■
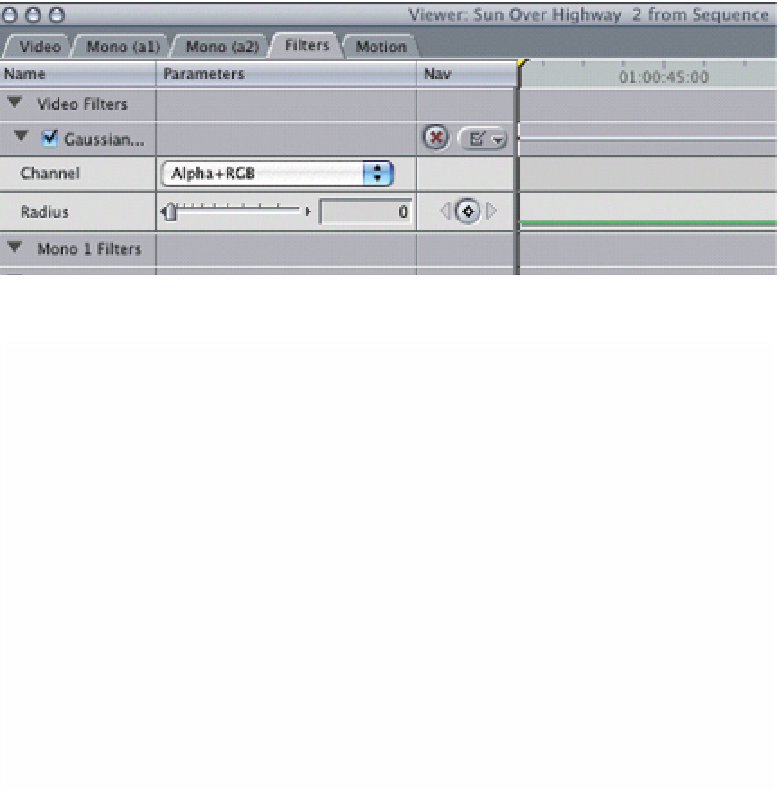
4
Select the Filters tab in the Viewer. This will reveal the controls for
changing the settings of the Filter you are working with.
■
5
Make sure the setting for the filter effect is at 0. This will mean the
Filter will have no effect on the clip at this stage.
■
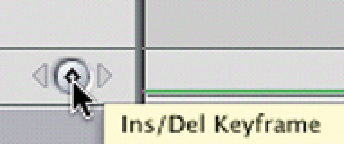
6
Mark a keyframe by pressing the
Insert/Delete Keyframe button.
■
7
Move the Scrubber Bar several
seconds into the clip (by holding
down the Shift key
the
horizontal forward arrow you can skip forward one second at a time).
Do not adjust the Filter settings yet.