Graphics Programs Reference
In-Depth Information
manually, by pressing the Insert/Delete Keyframe button, while each keyframe
thereafter is added automatically each time an adjustment is made to any of
the parameters.
The duration of the effect is determined by the distance or separation between
the first and last keyframe. The process is logical and straightforward. It is
crucial not to miss out any of the steps as this will interrupt the effect you are
trying to create.
By dragging the Scrubber Bar through the effect in either the Canvas or the
Timeline you can see the path the effect will follow. Playback the result through
RT Extreme or render the effect, if need be. Check to see if you are happy with
it. If not, repeat the process and try again.
Keyframe points can be smoothed by Control
clicking on the keyframe point itself.
Note:
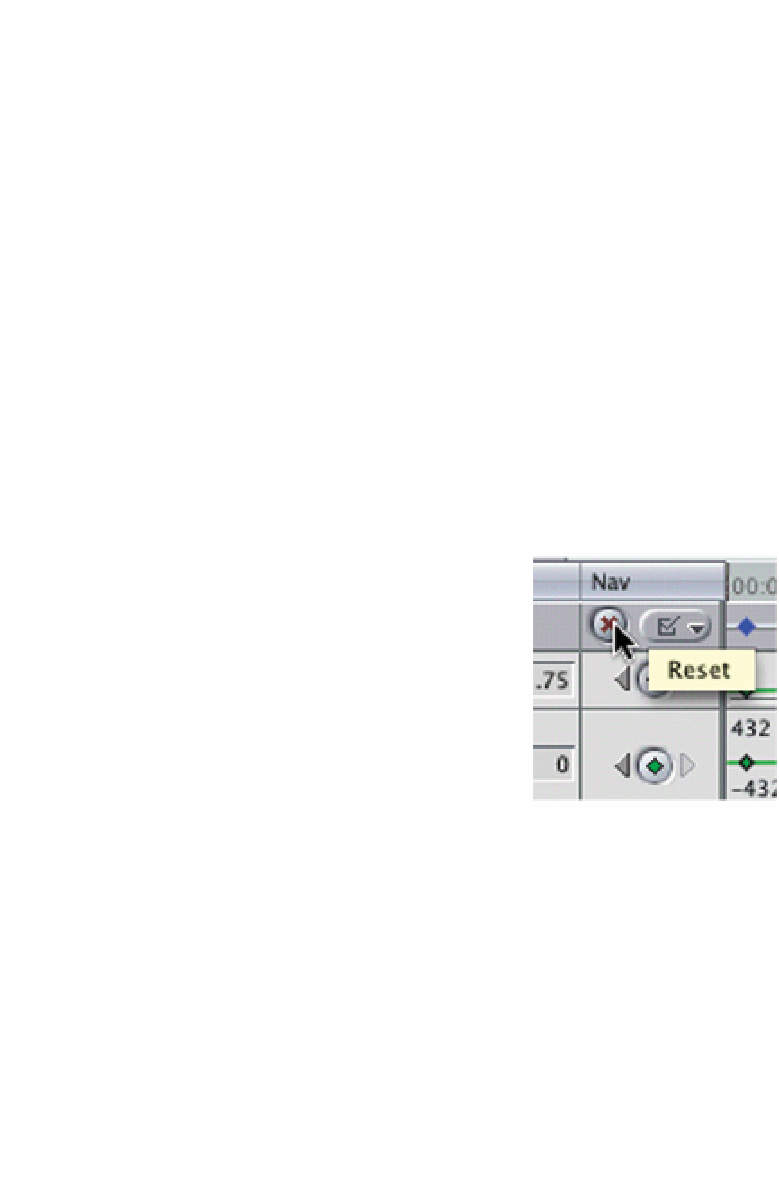
Keyframes can easily be reset by
clicking the Reset button at the top of the Motion
Control tab. Keyframes can be deleted by pressing
the Insert/Delete Keyframe button. If a keyframe
already exists it will be deleted. If there is no
keyframe present one will be added. Another way to
delete keyframes is to select the Pen tool from the
Toolbar, position it over a keyframe point and hold
down the Alt/Option key (which gives you a minus
symbol). By clicking on any of the keyframe points they will be deleted.
Keyframes can also be repositioned by dragging. Simply position your cursor
over a keyframe point and your cursor will turn into a small cross. Drag the
keyframe to a new position and release it.
You may notice that when you drag the yellow Scrubber Bar, it moves in the
Timeline, the Canvas and the Motion Control area all at the same time. Each of
these areas is linked, thus adjustments to one area affect the other areas.
Should you wish for the box to start outside of frame you need to reduce the
size of the Canvas using the drop down % menu at the top of the Canvas.