Graphics Programs Reference
In-Depth Information
■
10
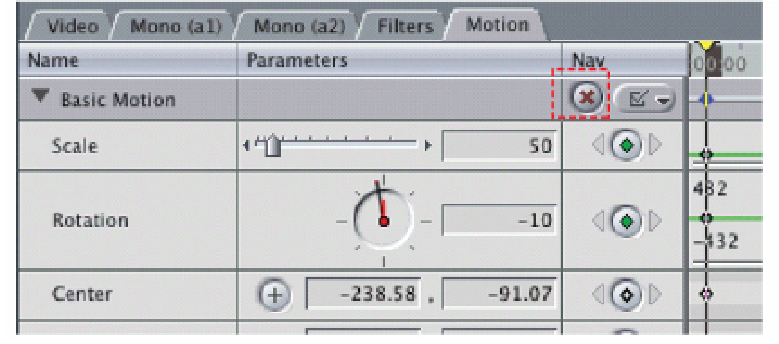
Press the Insert/Delete Keyframe button again - to the right of the
word Rotate. This will add a rotation value to the effect.
■
11
Press the Insert/Delete Keyframe button once more - this time next
to Center. This is a positioning or location reference point.
Master Reset Button
All these points add up to one keyframe - a combination of size, rotation and
positioning. The first keyframe is now marked.
■
12
Reposition the yellow Scrubber Bar where you want the next
keyframe point to be marked. You will notice that the yellow Scrubber
Bar moves in three places at once - in the Timeline, Canvas and Motion
tab window.
■
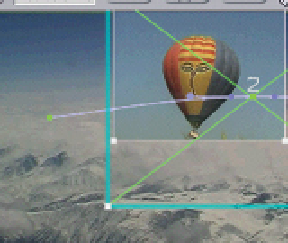
13
Click in the center of the image and drag it to the right. A line
indicating the path the image will follow will be displayed.
■
14
Resize the image by using the Scale
controls in the Motion Control tab.
The second keyframe points are
automatically added as Scale, Rotation
and the Center are adjusted. This is rep-
resented visually in the Motionwindow
by the line which gradually rises to indi-
cate the move which has been
plotted.
Resize, Rotate and
Reposition the Image