Graphics Programs Reference
In-Depth Information
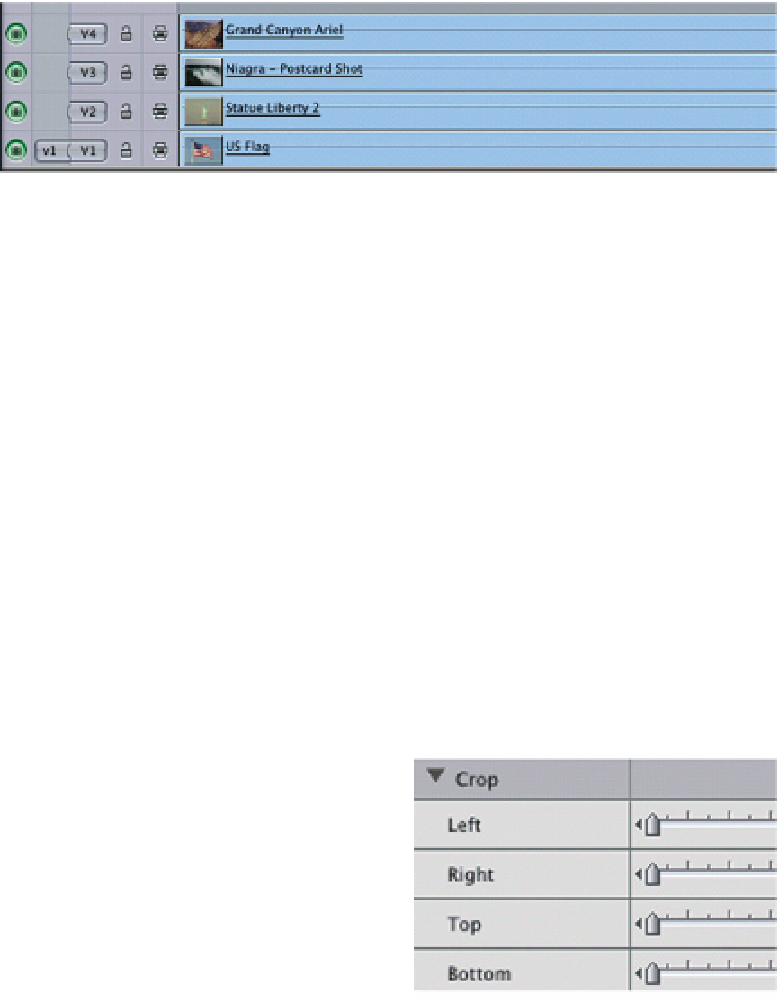
Thus the image on layer 4 will be at the front of the layers, while the image in
layer 1 will serve as the background. Those on V2 and V3 will make up the
middle layers.
■
2
Reduce each of the images in size to 35% - except for the background
image, this stays at 100%. To achieve this you will need to individually
click on each of the images to bring them into the Viewer, and then
resize accordingly. To achieve the same size for each image make sure
the number in the Scale setting is the same.
■
3
Make sure that Image
Wireframe is switched on and use your mouse
to position each of the images. You will need to double click each clip in
the Timeline to make it active in the Viewer, then position accordingly.
Repeat this procedure for each image you wish to position. This can be
done manually or, if you prefer, use the '
' symbol to set X and Y
co-ordinates in the Motion Control window.
■
4
If you find there is a black border
on any of the edges as you place
the images, you need to use the
Crop facility to remove this.
Often a black edge is seen on
the extreme outer perimeter of
the video frame. This is never
seen when the image is played to
a television set, however, when an image is squeezed back this can
become apparent. It needs to be cropped to get rid of it.
Use the slider bars to crop the image or enter a numeric value to achieve the
same result.