Information Technology Reference
In-Depth Information
4.
To import all photos, skip to the next step.
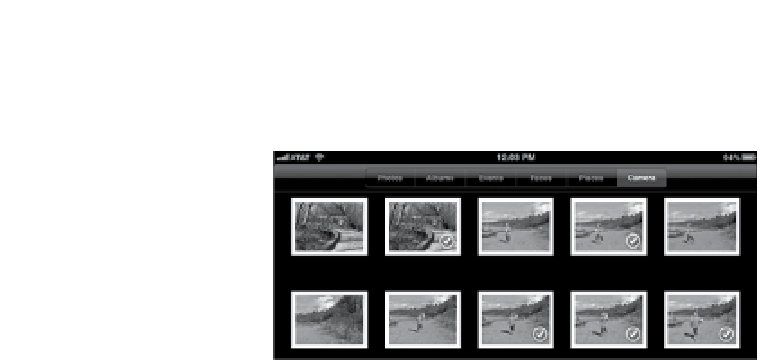
If you'd rather import just some of the images, tap the ones you want;
a blue checkmark indicates the ones you've selected (
Figure 6.3
).
Figure 6.3
Selecting photos
for import
5.
Tap the Import All button at the bottom of the screen to begin copy-
ing the files.
If you made selections, tap the Import button, which brings up a
popover with options to Import All (overriding your selections, in case
you changed your mind at the last minute) or Import Selected. Tap
one to begin copying the images to the iPad.
Click the Stop Import button if you want to halt the transfer; doing so
doesn't remove any selections you made before importing.
6.
When importing is complete, you're given the option to delete or keep
the images on the camera or SD card. I advise tapping Keep, and then
erasing the card later using the camera's format controls.
7.
Remove the SD card or turn off the camera. The transferred photos
appear in a new album called Last Import.
Photos imported directly from a camera or card can be deleted later by
viewing the image and tapping the Trash button
(
)
. Tap the Rotate
button
(
)
to turn the picture 90 degrees counterclockwise if necessary.