Graphics Programs Reference
In-Depth Information
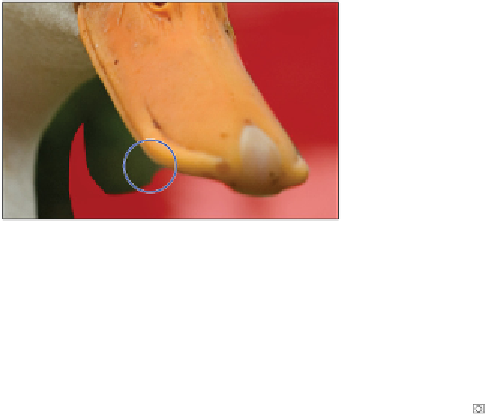
Paint the mask to make a more accurate selection.
9
If you accidentally paint into or select some of the duck, press
X
on your keyboard to swap the fore-
ground and background colors, putting white in the foreground. Start painting with white, and you will
see that this eliminates the mask, thereby making the regions that you paint with white part of the selec-
tion.
10
Continue painting until the selection is more accurate. When you are satisfied with your work, view
the selection by clicking the Quick Mask Mode button ( ) at the bottom of the Tools panel, or by press-
ing
Q
on your keyboard. This exits the Quick Mask mode and displays the selection that you have cre-
ated as a marquee. You can press
Q
to re-enter the Quick Mask mode to fine-tune the selection even
further, if necessary. Keep the selection active for the next section.
Saving selections
You spent quite some time editing the selection in the last part of this lesson. It would be a shame to lose
that selection by closing your file or clicking somewhere else on your image. As mentioned earlier in this
lesson, you should save your selections. In this part of the lesson, you'll save a selection so you can close
the file, reopen it, and retrieve the duck selection whenever you need it.
1
With your duck selection active, choose Select > Save Selection.
2
Type
duck
in the File name text field and click OK.
3
If you cannot see the Channels panel, choose Window > Channels to see that you have a saved channel
(or selection) named duck. Selections that are saved with an image are known as alpha channels. Chan-
nels are not supported by all file formats. Only Photoshop, PDF, PICT, Pixar, TIFF, PSD, and Raw
formats save alpha channels with the file.
Name your saved selection.
The Channels panel.
4
Choose Select > Deselect, or press Ctrl+D (Windows) or Command+D (Mac OS), to deselect the active
selection.


