Graphics Programs Reference
In-Depth Information
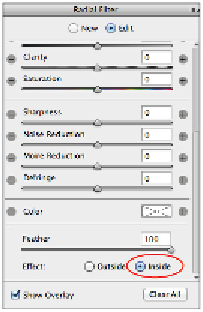
Change the exposure to affect the inside of the radial filter selection.
8
Now that you have made an adjustment, experiment with changing the Radial Filter selection. Make it
larger or smaller; change it from a circle to an oblong shape. Work with the filter until you think it im-
proves the exposure in the center part of the camera. No exact settings are necessary for this lesson.
9
Click OK, and choose File > Save. Keep this file open for the next part of this lesson.
Shake Reduction
In this part of the lesson, you'll try out the new Shake Reduction Filter, which is helpful when trying to re-
duce the effects of camera shake. It works best with images that have the following characteristics:
•
Still camera captures
•
Low noise or graininess
•
Relatively good lighting (not too dark or light)
•
Indoor images taken at a slow speed with no flash
•
Images captured with long focal length shot both indoor and outdoor
•
Forensics; great to use to improve the quality of text in an image
About Shake Reduction
Shake reduction is an incredible new feature available as a filter in Photoshop CC, but while it's a great tool, it does
not solve all blurry image problems. Keep the following in mind when selecting images to use with this filter:
•
The Shake Reduction filter does not work well with images that have specular highlights. (As discussed in Lesson 6,
“Color Correcting an Image,” specular highlights are very bright spots caused by shiny material and reflections of
light.)
•
The Shake reduction will not drastically improve a moving object in your image.
•
It is best to use in a portion of your image, rather than apply the filter to the entire image.
1
With the
ps1401_work.psd
image still open, and the Camera layer still active, choose Filter > Sharpen
> Shake Reduction. The Shake Reduction dialog box appears.