Graphics Programs Reference
In-Depth Information
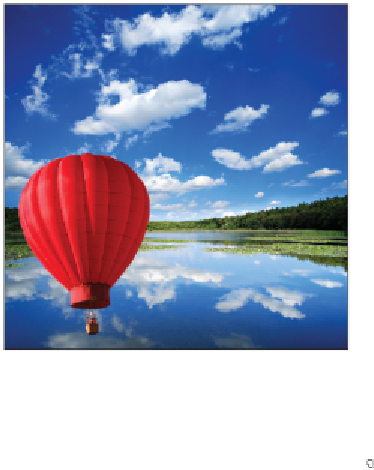
Position the balloon to be in the lower-left corner.
6
Type
15
to change the layer to a 15% opacity. You do not have to activate the Opacity text field to
change an active layer's opacity when you have the Move tool selected.
7
Click the Duplicate selected frames button ( ) at the bottom of the Animation panel. A second frame is
added to the right of the original.
8
Verify that you still have the balloon layer selected. Then, using the Move tool, click and drag the bal-
loon to the upper-right corner of the lake image. Type
0
(zero) to set the layer opacity at 100%.
9
Click the Add a layer style button ( ) at the bottom of the Layers panel, and choose Outer Glow from
the list of styles. The Layer Style dialog box appears with Outer Glow selected.
10
In the Elements section of the Layer Style dialog box, click and drag the Size slider to the right until
you reach approximately 70, or type
70
into the Size text field. Click OK. A glow has been applied to
the balloon layer.
11
From the Animation panel menu, select Tween or click the Tween button ( ) at the bottom of the An-
imation panel.
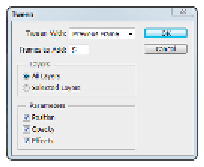
12
On the Tween menu, confirm that tweening is set to the Previous Frame and the Frames to Add is 5.
Choose to insert five frames in between the frames.
13
Click OK to add five frames to your animation. Photoshop interpolates the starting position, opacity,
and layer style between the first frame and the 7th frame, thus creating an animation in which the bal-
loon starts in the bottom-left and rises to the top-right.