Graphics Programs Reference
In-Depth Information
10
Drag the Butterfly 3 layer to the Delete icon ( ) in the Layers panel. You will add the layer again in the
next exercise and learn how to access the contents of a Smart Object. Later in the lesson, you will re-
turn to the issue of adding a blur non-destructively.
Editing the contents of a Smart Object
In the last exercise, you saw how you could modify a Smart Object by rasterizing the layer. The problem
with this method is that rasterizing the layer removes the unique characteristics of the Smart Object layer.
Using the following method, you will edit the contents of the embedded Smart Object without changing its
Smart Object status.
1
Choose File > Place, and navigate to the ps12lessons folder. Select the
ps1205.psd
file and click Place.
The butterfly image appears in your screen.
2
Pressing and holding the Shift key, click and drag any corner anchor point toward the center until you
see an amount close to 25 percent in the W and H text fields in the Options bar, or type
25
into the W
and H text fields. Reposition the butterfly to the upper-right corner of the image. Press Enter (Win-
dows) or Return (Mac OS) to commit the change.
3
In the Layers panel, double-click the layer name ps1205, to highlight the text name. Type
Butterfly 4
and press Enter (Windows) or Return (Mac OS).
4
Now, double-click the Butterfly 4 layer thumbnail in the Layers panel (do not click the layer name or
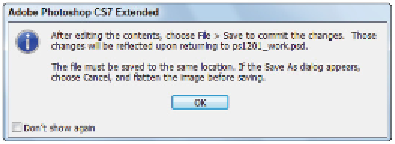
the layer itself, but specifically the Smart Object thumbnail). A dialog box appears, reminding you that
you need to save the document after you edit the contents. Click OK. The
ps1205.psd
file is now open
on your screen.
A warning dialog box appears when you edit a Smart Object.
By double-clicking the Smart Object layer, you open the original file as a separate document. You'll
now make some adjustments to the original image. In this case, you will be adjusting the hue and satur-
ation.
5
In the Adjustments panel immediately above your layers, click the Hue/Saturation icon to open the
Properties panel.
Click the Hue/Saturation icon.
The Properties panel for the Hue/Saturation settings appears. Using an adjustment layer ensures that
your original pixel data remains untouched.