Graphics Programs Reference
In-Depth Information
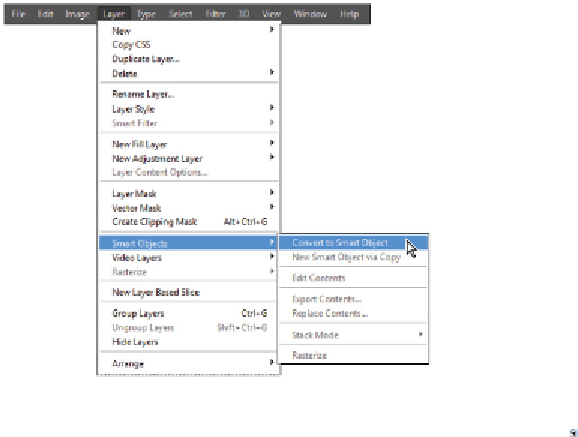
Changing a layer to a Smart Object.
There is no visible change in the image, but the Smart Object icon ( ) in the Toucan layer now appears
in the lower-right corner, indicating that it is now a Smart Object.
6
Choose Edit > Free Transform, or use the keyboard shortcut Ctrl+T (Windows) or Command+T (Mac
OS) to transform the toucan image. Grab the top-right corner of the bounding box, and while holding
the Shift key, click and drag a corner point to scale it to about three-quarters its current size (75 per-
cent). If necessary, reposition the image in the lower-left corner. Press Enter (Windows) or Return (Mac
OS) to commit the change.
Placing a Smart Object
In addition to opening new documents as Smart Objects and converting existing layers to Smart Objects,
you can use the Place feature to import an image as a Smart Object.
1
Choose File > Place; the Place dialog box appears. Navigate to the ps12lessons folder, select the
ps1204.psd
file, and click Place. This places the parrot image into your
ps1201_work.psd
file.
When documents are placed, they become Smart Objects by default. Note the large X on the layer; this
is a bounding box that allows you to transform the Smart Object before confirming the placement.
2
Click and drag the parrot image until the bottom-right corner snaps against the bottom-right corner of
your work file. Press and hold the Shift key, and then click the top-left anchor point of the transform
bounding box. With the Shift key still pressed, click and drag toward the center to scale the image
down in size. Scale the parrot about 50% until it is just slightly smaller and the two images are not
overlapping.