Graphics Programs Reference
In-Depth Information
4
Click and drag to move the anchor point, then release the Ctrl/Command key.
5
Now practice by creating a new path. While creating the path, press and hold the Ctrl/Command key
and drag your last anchor point to another location. Release the Ctrl/Command key and continue mak-
ing your path.
If you make a mistake while creating a path, press Ctrl+Z (Windows) or Command+Z (Mac OS) to
keep your last anchor point active so you can easily continue the path you started.
6
Choose File > Close to close this file; choose Don't Save,
When creating corner points, you can Shift+click to constrain the angle of your path segments to
multiples of 45 degrees. You can also Shift+drag to constrain your directional lines.
Path exercises
In this next section, you will use an exercise file to follow paths and learn how to control the Pen tool. The
Photoshop file that you will work with has a locked layer that displays anchor points and paths that you
will replicate.
1
Return to Adobe Bridge by choosing File > Browse in Bridge.
2
Navigate to the pslessons folder you copied onto your system, and open the ps11lessons folder.
3
From the ps11lessons folder, select the file called
ps1101.psd
. An image that contains some paths opens
in Photoshop.
4
Choose File > Save As and type
ps1101_work
into the Name text field. Leave the format at Photoshop,
navigate to ps11lessons folder, and then click Save.
5
Select your Zoom tool from your tools pane and uncheck Scrubby Zoom in the Options at the top.
6
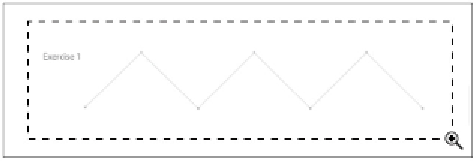
Click and drag with the Zoom tool so that you encompass the entire Exercise 1 path.
Click and drag with the Zoom tool over Exercise 1.
7
Press Shift+Tab; this is the keyboard shortcut that hides the panels to the right. You can press Shift+Tab
at any time to make them visible again.
8
Select the Pen tool, and then click the first square (indicating the placement of an anchor point) in the
lower-left area of Exercise 1.