Graphics Programs Reference
In-Depth Information
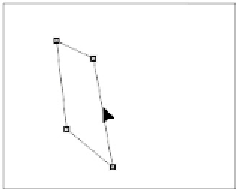
A path segment selected with the Direct Selection tool.
Adding and deleting anchor points
Once you create a path, you might need additional anchor points to complete your shape, or you might
need to delete some anchor points.
1
Select the Pen tool and cross over the selected path in an area between two anchor points. Notice that
the Pen icon appears with a plus (+) sign, indicating that if you click, an anchor point will be added to
the path.
2
Click to add the anchor point.
3
Now, hover over the anchor point that you just added and note that the Pen cursor has a minus (-) sign.
This indicates that if you click this anchor point, it will go away.
4
Click the anchor point to make it go away. Notice that the path still remains closed, but the anchor point
is no longer there.
Click the path to add an anchor point. Click an anchor point to delete it.
Working with curved paths
So far, you have been working with straight paths, which you can make by clicking from one anchor point
to another. Curved paths are created by clicking and dragging and adjusting the directional point that ap-
pears as you drag. In this part of the lesson, you will practice creating curved paths.
1
Find a blank location on your image file and click.
2
Go to another blank location and click and drag. Note the path curves and a directional line appears. If
you don't release right away, you can move the directional line up and down to control the path.
Release the anchor point to create the curved path.