Graphics Programs Reference
In-Depth Information
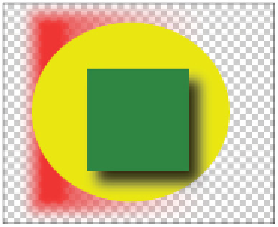
Use the Move tool to reposition the shadow layer.
11
Select the green square layer, then Shift+click the green square shadow layer. Both are now selected.
12
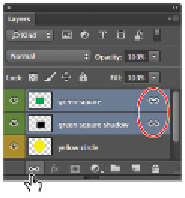
Select the Link Layers button ( ) at the bottom of the Layers panel. The Link icon appears to the right
of the layer names, indicating that they are linked to each other.
Keep layers together by linking them.
13
Select the Move tool, and click and drag the green square to another location. Notice that the shadow
also moves. Move the squares back to the center of the image.
14
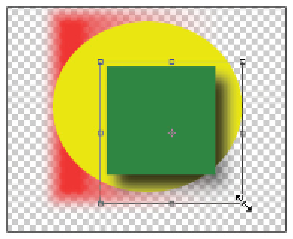
Choose Edit > Free Transform, or use the keyboard shortcut Ctrl+T (Windows) or Command+T (Mac
OS). A bounding box appears around the green square and its shadow.
15
Click the lower-right corner handle and drag it to enlarge the squares. Release the mouse when you've
resized them to your liking. No particular size is necessary.
Click and drag the bounding box to scale the layer contents.
16
Press the Esc key (in the upper-left corner of your keyboard) to cancel the transformation.
17
Now, choose Edit > Free Transform again, but this time press and hold the Shift key while dragging
the lower-right corner of the bounding box toward the lower-right corner of your image. Pressing and