Graphics Programs Reference
In-Depth Information
7
Choose File > Save. Keep this file open for the next part of this lesson.
Preserve transparency
The last step in this practice file will be to apply transformations to your layers. Transformations include
scaling, rotating, and distorting a layer. To help illustrate how transformations work, you will first duplic-
ate a layer and link it to the original.
1
With the
mylayers.psd
file still open, select the green square layer.
2
Select the Move tool (
), and then press and hold the Alt (Windows) or Option (Mac OS) key and position the cursor over the
green square in the image. You will see a double-arrow cursor ( ). While still pressing and holding the
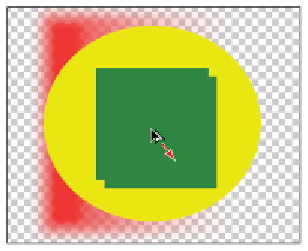
Alt/Option key, click and drag the green square to the right. A duplicate of the layer is created; release
the mouse to see that a green square copy layer has been added to the Layers panel.
Duplicate a layer using the Alt/Option key.
3
Double-click the layer named green square; when the text is highlighted, type the name
green square
shadow
.
4
Delete the word copy from the topmost layer named green square copy.
5
Click the green square shadow layer to select it. You'll now take advantage of a feature that allows you
to fill without making a selection. Choose Edit > Fill, or use the keyboard shortcut Shift+Backspace
(Windows) or Shift+Delete (Mac OS). The Fill dialog box appears.
6
In the Fill dialog box, choose Black from the Use drop-down menu. Leave the Mode (in the Blending
section) set to Normal and Opacity set to 100 percent, check Preserve Transparency, and click OK.