Graphics Programs Reference
In-Depth Information
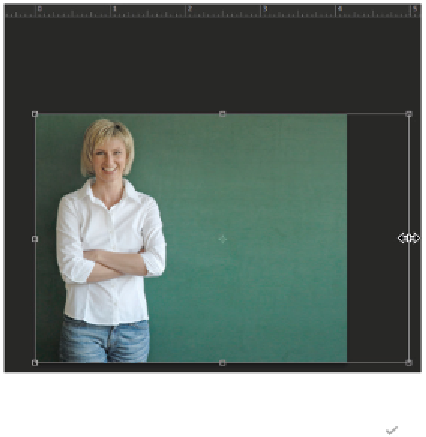
Stretch to about the 5˝ mark.
5
Press Return, or click the Commit check box ( ) in the upper right of the Options bar. You will not see
your expanded image until after the next step.
6
Choose Image > Reveal all to see your expanded image.
Keep in mind that this example works well for auto-scaling; in fact, many images do, but don't expect
miracles. If you push the image too small, or expand it too much, you will see some degradation of the
image.
7
Choose File > Save. Keep the file open for the next exercise.
Content-Aware Fill
There are times when you need to eliminate objects entirely from your image, and this is when the
Content-Aware Fill feature can help. In this part of the lesson, you will remove the teacher entirely so that
you are left only with the blackboard.
1
Make sure that you still have the
ps0701_work
image open and then select the Rectangular Marquee
tool ( ).
2
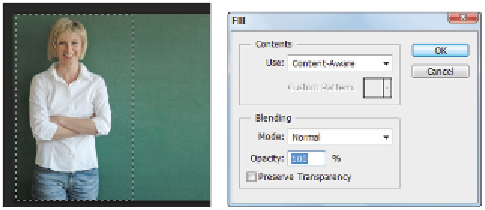
Make a rectangular selection of the teacher, encompassing the entire teacher.
3
Select Edit > Fill, or press the keyboard shortcut Shift+Delete. This opens the Fill dialog box.
Select the teacher. Choose Edit > Fill.