Graphics Programs Reference
In-Depth Information
The Info panel after the #3 marker is selected as a gray point.
If you want more advanced correction, you can enter each of the individual color curves and adjust
them separately by dragging the curve up or down, while watching the values change in the
Info panel.
5
Press Ctrl+S (Windows) or Command+S (Mac OS) to save your work file.
6
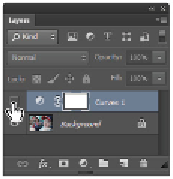
If your Layers panel is not visible, choose Window > Layers. On the Layers panel, click the Visibility
icon ( ) to the left of the Curves 1 adjustment layer to toggle off and on the curves adjustment you just
made. Make sure that the Curves layer's visibility is turned back on before you move on to the next
section.
Click the Visibility icon to turn off and on the adjustment layer.
7
Choose File > Save. Keep this file open for the next part of this lesson.
Sharpening your image
Now that you have adjusted the tonal values of your image, you'll want to apply some sharpening to the
image. In this section, you'll discover how to use unsharp masking. It is a confusing term, but is derived
from the traditional (pre-computer) technique used to sharpen images.
To simplify this example, you'll flatten the adjustment layer into the Background layer.
If you are an advanced user, you can avoid flattening by selecting the Background layer,
Shift+clicking the Curves 1 layer, then right-clicking (Windows) or Ctrl+clicking (Mac OS) and