Graphics Programs Reference
In-Depth Information
Here is where it might get tricky: add the Shift key to this configuration; your cursor changes into the
Color Sampler tool ( ). Click the light area you found in the flame. A color sample appears on the im-
age, but no change has yet been made to the image.
Add a color sample to mark the lightest point in the image.
If necessary, you can reposition the Color Sample by pressing and holding the Shift key and drag-
ging it to a new location.
8
Make sure that the Set white point eyedropper is still selected, and click the color sampler you just
placed. By clicking the color sampler, you defined this area of the image as the lightest point on the
tone curve; it is adjusted to your newly defined highlight color values.
If this gives you unexpected results, you might have missed the color sampler. You can undo by
pressing Ctrl+Z (Windows) or Command+Z (Mac OS), and then try clicking the white area of the
flame again. Keep in mind that the color sample that you dropped is only a marker; you do not have
to move the sampler to change the highlight.
Now you will set the black, or darkest, part of your image.
9
If you are not seeing the entire image, press Ctrl+0 (zero) (Windows) or Command+0 (zero) (Mac OS)
to make the image fit in the window.
10
Select the shadow slider ( ) on the Properties panel, press and hold the Alt/Option key, and drag the
slider toward the left.
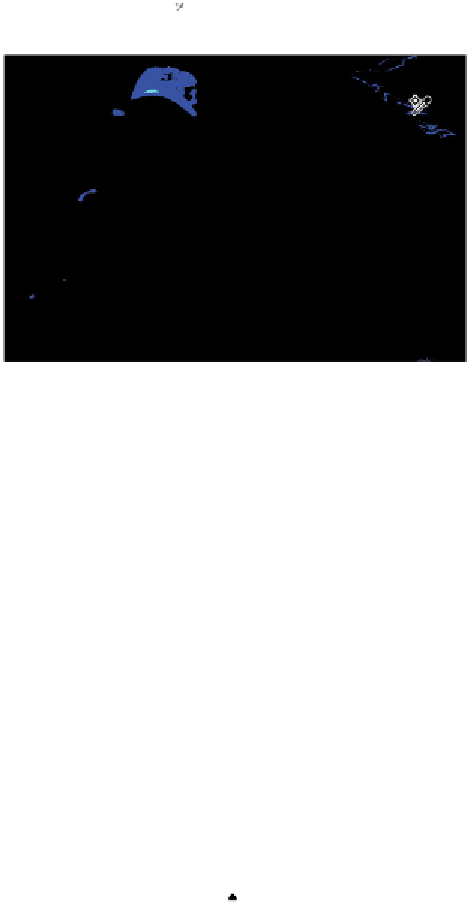
When dragging the slider slowly, notice that clipping appears, indicating (with darker colors) the shad-
ow areas of this image. Notice that there are many shadow areas in this image, but you see that the un-
derside of the brim of the hat appears almost instantly, indicating that it is the darkest area in the image.


