Graphics Reference
In-Depth Information
6.
Add a Math node (press
Shift
+
A
and navigate to Converter | Math) and paste
it between the Image Texture node and the Material Output. Set Operation to
Multiply, and the second option, Value, to
2.000
(if you don't see any modification
in the rendered preview, it's an update issue, which can be solved by pressing
Tab
twice to go in and out of Edit Mode).
7.
Add a Glossy node (press
Shift
+
A
and navigate to Shader | Glossy BSDF) and
a Mix Shader node (press
Shift
+
A
and navigate to Shader | Mix Shader), and
connect them to build the average basic material we already know.
8.
Add two MixRGB nodes (press
Shift
+
A
and navigate to Color | MixRGB) and
connect them to the color input sockets of the Diffuse and the Glossy nodes.
9.
Finally, connect the color output of the Image Texture node to the Color1 input
sockets of the MixRGB nodes, and set colors for the Color2 sockets. Here is a
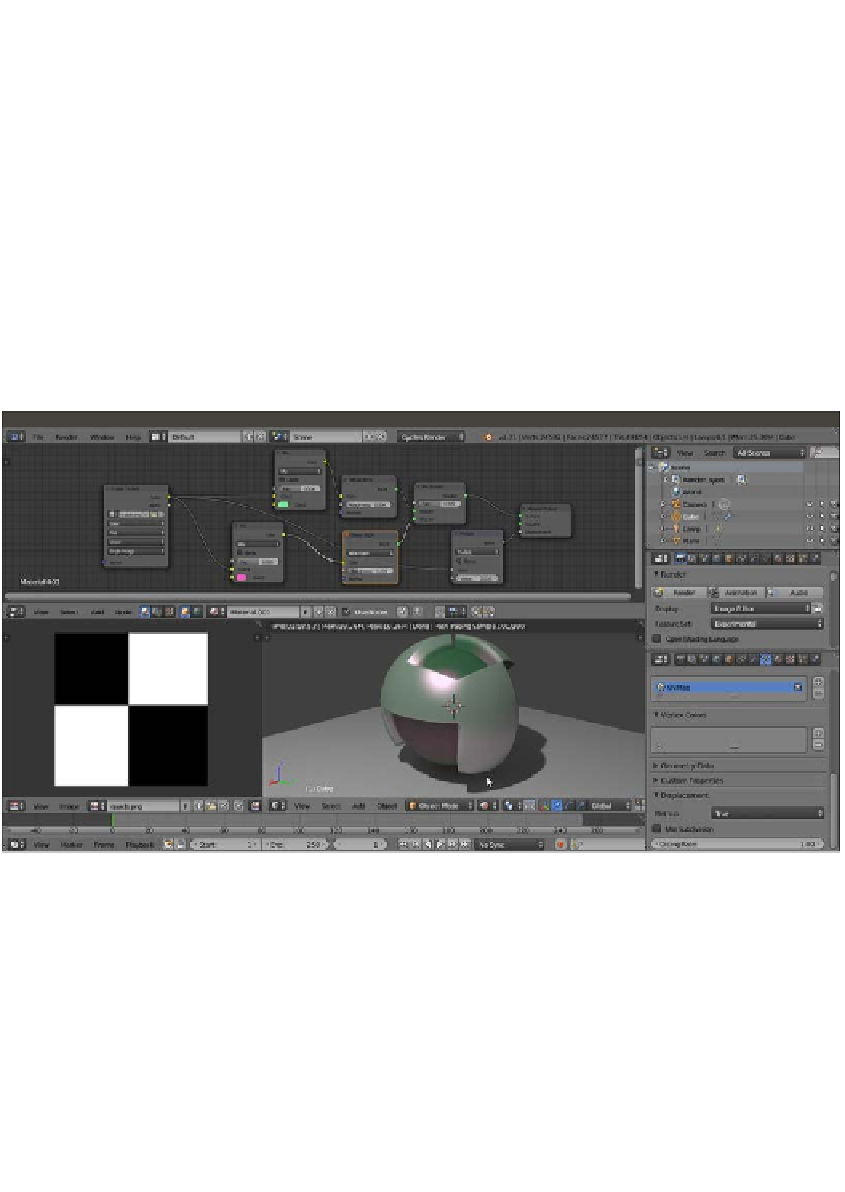
screenshot of a checker image texture used as displacement for your reference:
A checker image texture used as a color and output for the Rendered displacement of the Spheroid
Instead of the Smart UV Project option to unwrap the Spheroid, try the default
1:1
UV Mapping (the Reset item in the menu, which gives the whole image mapped on
each face). The following screenshot shows the checker image texture used with the
different unwrap: