Graphics Reference
In-Depth Information
39. Press
Shift
+
D
to duplicate the Add4 node, label the duplicate as
Overlay
,
and change Blend Type to Overlay as well. Set the Fac value to
1.000
and connect the output of the Add4 node to the Color1 input socket.
40. Add an Attribute node (press
Shift
+
A
and navigate to Input | Attribute) and
connect its Color output to the Color2 input socket of the Overlay node;
in the Name field, write
Col
(the Vertex Colors layer).
41. Connect the output of the Overlay node to the Color input socket of the
Diffuse BSDF shader node.
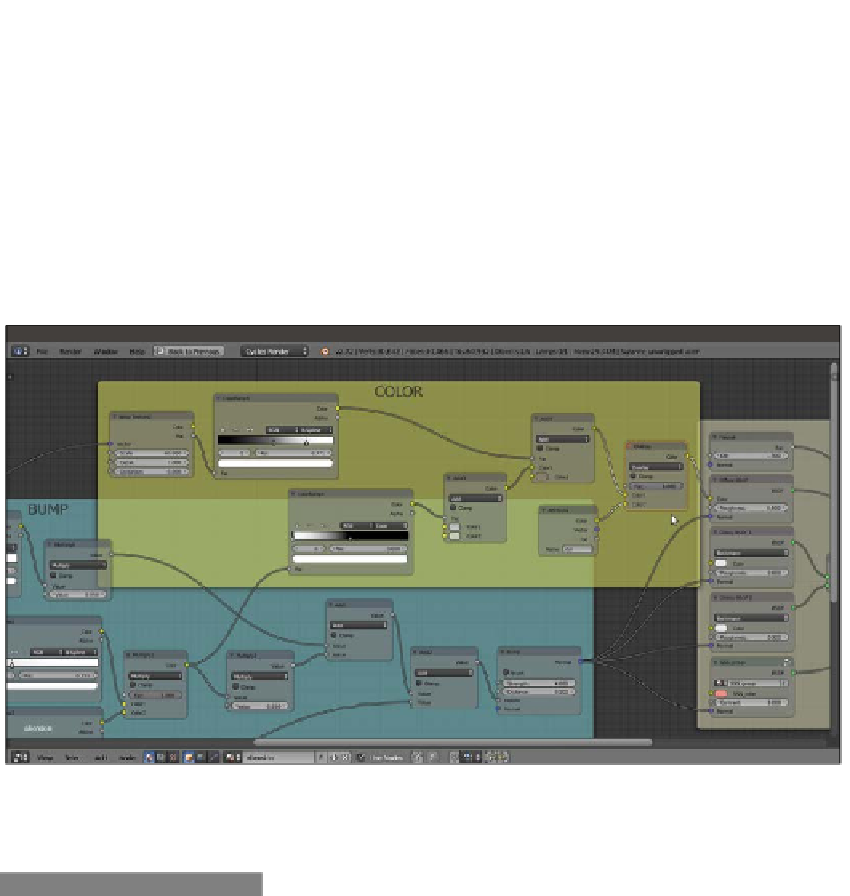
42. To make them more easily readable, frame the three groups of nodes, SHADER,
BUMP, and COLOR, as shown in the following screenshot:
The simpler color pattern to be connected only to the Diffuse shader node and the nodes grouped by frames
43. Save the file as
9931OS_08_alienskin_final.blend
.
How it works...
F
From step 1 to 8, we built a simple and quick shader for the starry background and
for the Plane in front of the Suzanne_unwrapped_alien mesh to be reflected in the
eyes; note that the background Plane material works as a shadeless material. To see
how to set a bright but not emitting light background, that is, a shader that behaves
as the shadeless material you have in the Blender Internal engine, go to
Chapter 9
,
Special Materials
.