Graphics Reference
In-Depth Information
Because Cycles has a node-based system for materials, textures are not added in their slot
under a tab as they are in Blender Internal. They get added in the Node Editor window, and
are directly connected to the input socket of the shaders or other kinds of nodes. This gives
a lot more flexibility to the material creation process because a texture can be used to drive
several options inside the material network.
Let's see how they work:
1. Starting from the previously saved
start_01.blend
blend file, where we already
set a simple scene with a Cube on a Plane and a basic material, select the Cube
and go to the Object modifiers window inside the Properties panel to the
right of the UI.
2. Assign to the Cube a Subdivision Surface modifier, set the Subdivisions level to
4
for both View and Render, and check the Optimal Display item.
3. Go to the Tool tab at the left of the 3D window, navigate to Edit | Shading, and set
the subdivided Cube (let's call it Spheroid from now on) to Smooth.
4. Just to make things clearer, click on the color box of the Glossy BSDF shader to
change it to a purple color (RGB set to
0.800
,
0.233
, and
0.388
, respectively).
Note that only the glossy reflection part on the Spheroid is now purple, whereas
the rest of the surface, which is the diffuse component, is still greenish.
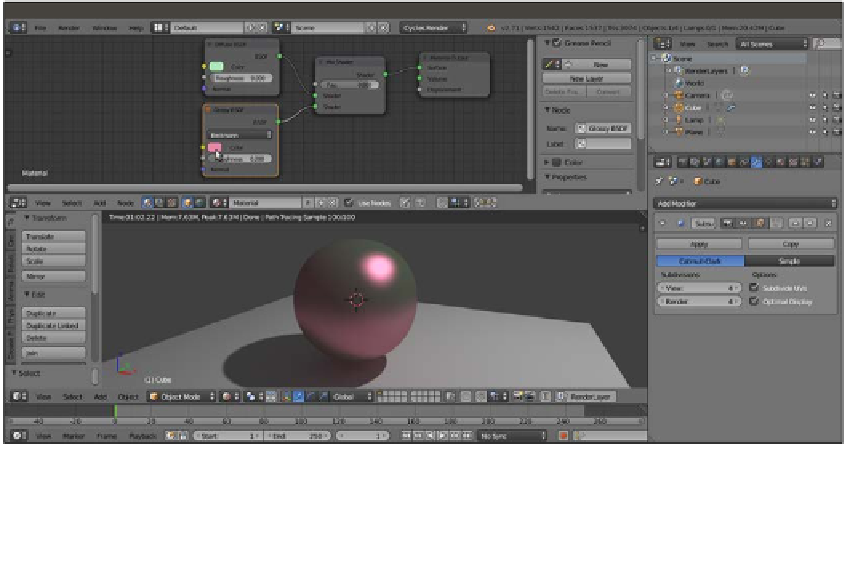
5. Save the blend file and name it
start_02.blend
. The effect visible in the
real-time Rendered preview is as follows:
The Rendered preview of the effect of two differently colored Diffuse and Glossy components on the Spheroid