Graphics Reference
In-Depth Information
9.
Set the Fac value to
0.800
(keep
Ctrl
pressed while you are sliding the Fac value
to constrain it to
0.100
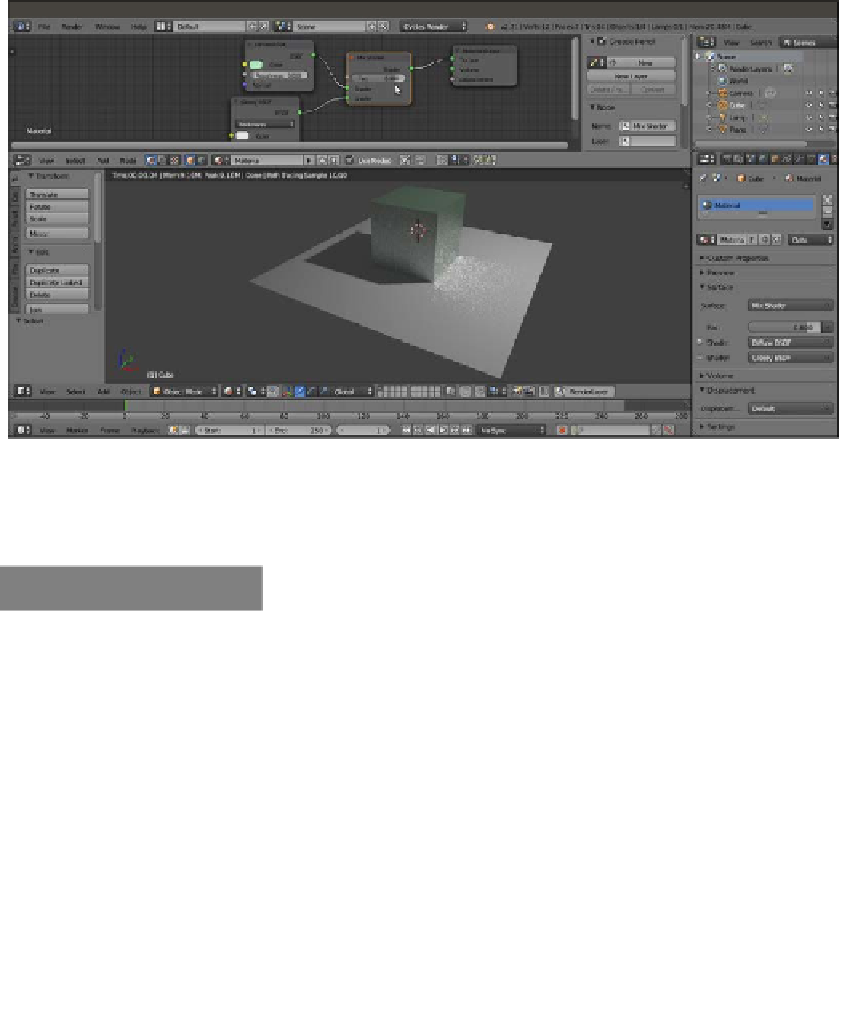
intervals). The Cube is now reflecting the white Plane on its
sides, even though it is blurred, because we have a material that is reflective at 80
percent and matte at 20 percent (the white noise you see in the rendered preview
is due to the low sampling we are using at the moment. You will learn more about
this later). This is shown in the following screenshot:
The Rendered preview of the effect of the mixed Diffuse and Glossy shader nodes
10. Lastly, select the Plane, go to the Material window, and click on the New button to
assign a diffuse whitish material.
How it works...
In its minimal form, a Cycles material is made by any one of the node shaders connected
to the Surface or the Volume input sockets of the Material Output node. For a new material,
the node shader is Diffuse BSDF by default, with the RGB color set to
0.800
and connected
to the Surface socket, and the result is a matte whitish material (with the Roughness value
at
0.000
, actually corresponding to a Lambert shader).
Then the Diffuse BSDF node can be replaced by any other node of the available shader list,
for example, by the Glossy BSDF shader as in the former Cube scene, which produced a
totally mirrored surface material.
As we have seen, the Node Editor window is not the only way to build the materials. In the
Properties panel on the right-hand side of the UI, we have access to the Material window,
which is usually divided as follows:


