Graphics Reference
In-Depth Information
Getting ready
In the description of the following steps, I'll assume that you are using Blender with the
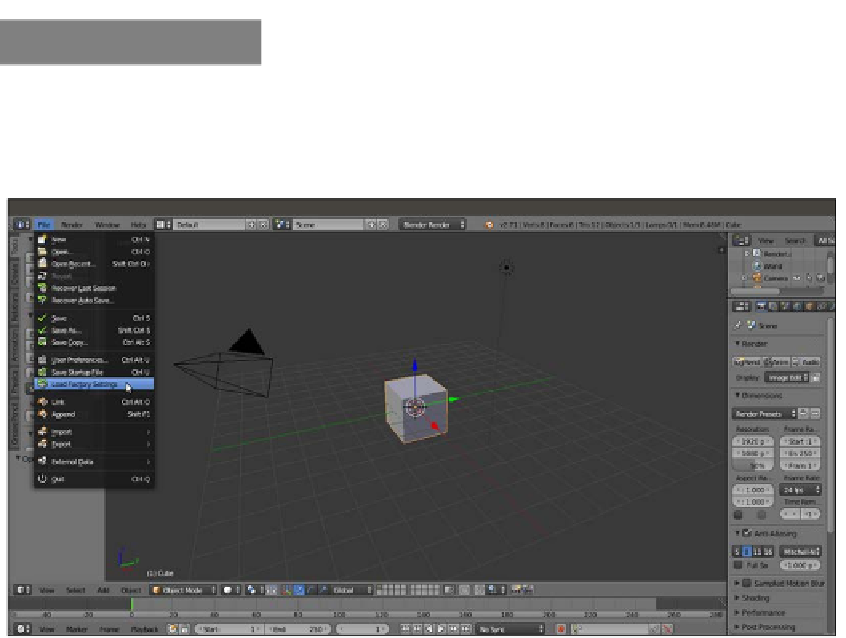
default factory settings. If you aren't, start Blender and just click on the File menu item in
the top main header bar to select Load Factory Settings from the pop-up menu, as shown
in the following screenshot:
The default Blender interface and the File pop-up menu with the Load Factory Settings item
Now perform the following steps:
1.
In the upper menu bar, switch from Blender Render to Cycles Render (hovering with
the mouse on this button shows the engine to use to render a label).
2.
Now split the 3D view into two horizontal rows, and change the upper row to the
Node Editor window by selecting the menu item from the Editor Type button in the
left corner of the bottom bar of the window. The Node Editor window is, in fact, the
window we will use to build our shaders by mixing the nodes (actually, this is not the
only way, but we'll see this later).
3.
Put the mouse cursor in the 3D view and add a Plane under the Cube (press
Shift
+
A
and navigate to Mesh | Plane). Enter Edit Mode (press
Tab
), scale it 3.5 times
bigger (press
S
, enter
3.5
, and then press
Enter
) and go out of Edit Mode (press
Tab
again). Now move the Plane one Blender unit down (press
G
, then
Z
, then enter
-1
,
and finally, press
Enter
).
4.
Go to the little icon (Viewport Shading) showing a sphere in the bottom bar of the
3D view and click on it. A menu showing different options appears (Bounding Box,
Wireframe, Solid, Texture, Material and Rendered). Select Rendered from the top
of the list (or press the
Shift
+
Z
shortcut) and watch your Cube being rendered in
real time in the 3D viewport.