Graphics Reference
In-Depth Information
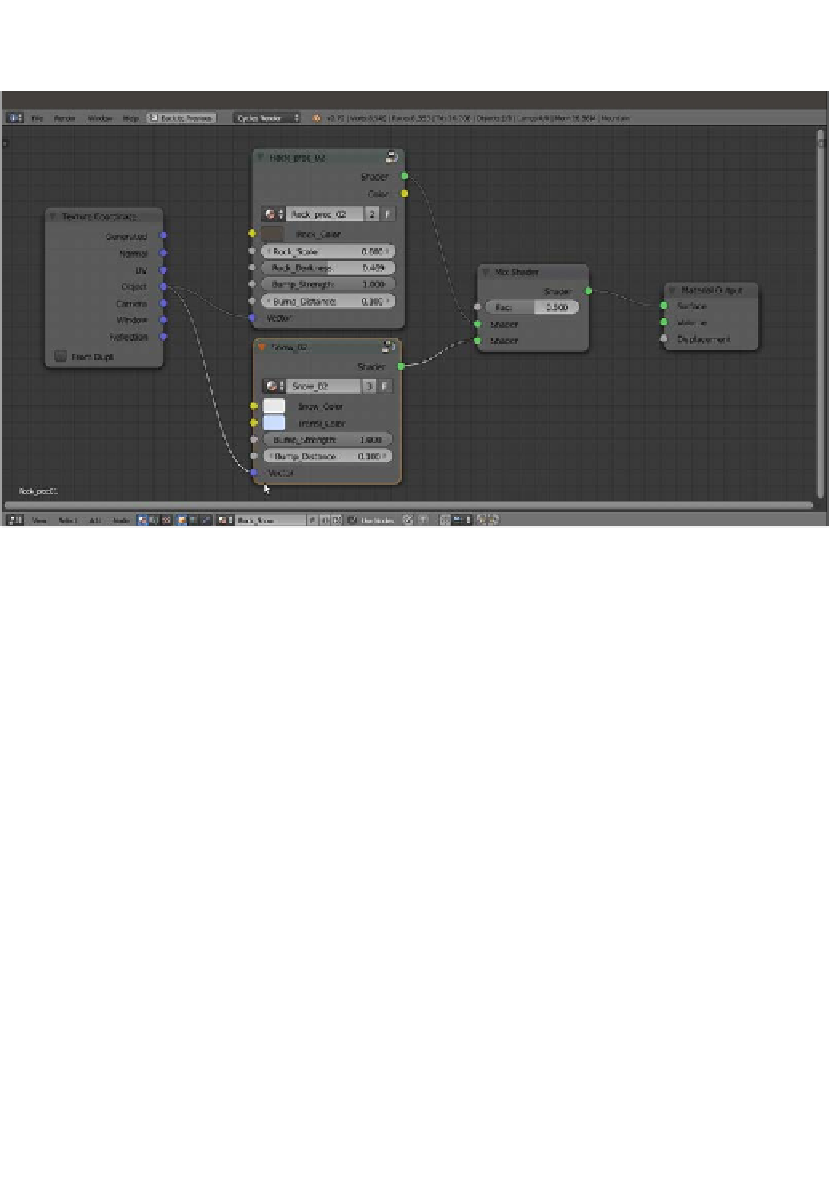
3.
Connect the Object output of the Texture Coordinate node to the Vector input socket
of the Snow_02 group node as shown in the following screenshot:
Starting to build the snowy rock mountain material
Creating the stencil shader
At this point, both the materials are assigned to the Mountain object, but if you render the
preview now, they will appear on the whole mesh surface as a mixture of rock and snow. We
must build a separator to establish where the surface will show only the rock and where it will
show only the snow:
1.
Add a Geometry node (press
Shift
+
A
and navigate to Input | Geometry), two
Mapping nodes (press
Shift
+
A
and navigate to Vector | Mapping), two Gradient
Texture nodes (press
Shift
+
A
and navigate to Texture | Gradient Texture), and a
ColorRamp node (press
Shift
+
A
and navigate to Converter | ColorRamp).
2.
In the Properties panel of the Node Editor, label these four nodes as follows:
Mapping01
,
Mapping02
,
Gradient Texture01
,
Gradient Texture02
, and
ColorRamp01
. Connect the Normal output of the Geometry node to the Vector
input socket of the Mapping01 node and the Position output to the Mapping02
node. Then connect the Mapping01 node to the Gradient Texture01 node and the
Mapping02 node to the Gradient Texture02 node.
3.
Leave the Gradient Type of the Gradient Texture01 node as Linear and set the
Gradient Type of the Gradient Texture02 to Quadratic. In the Mapping01 node,
set the Location value of X as
-0.210
and the Rotation value of Y as
90°
. In the
Mapping02 node, set only the Rotation value of Y as
90°
.