Graphics Reference
In-Depth Information
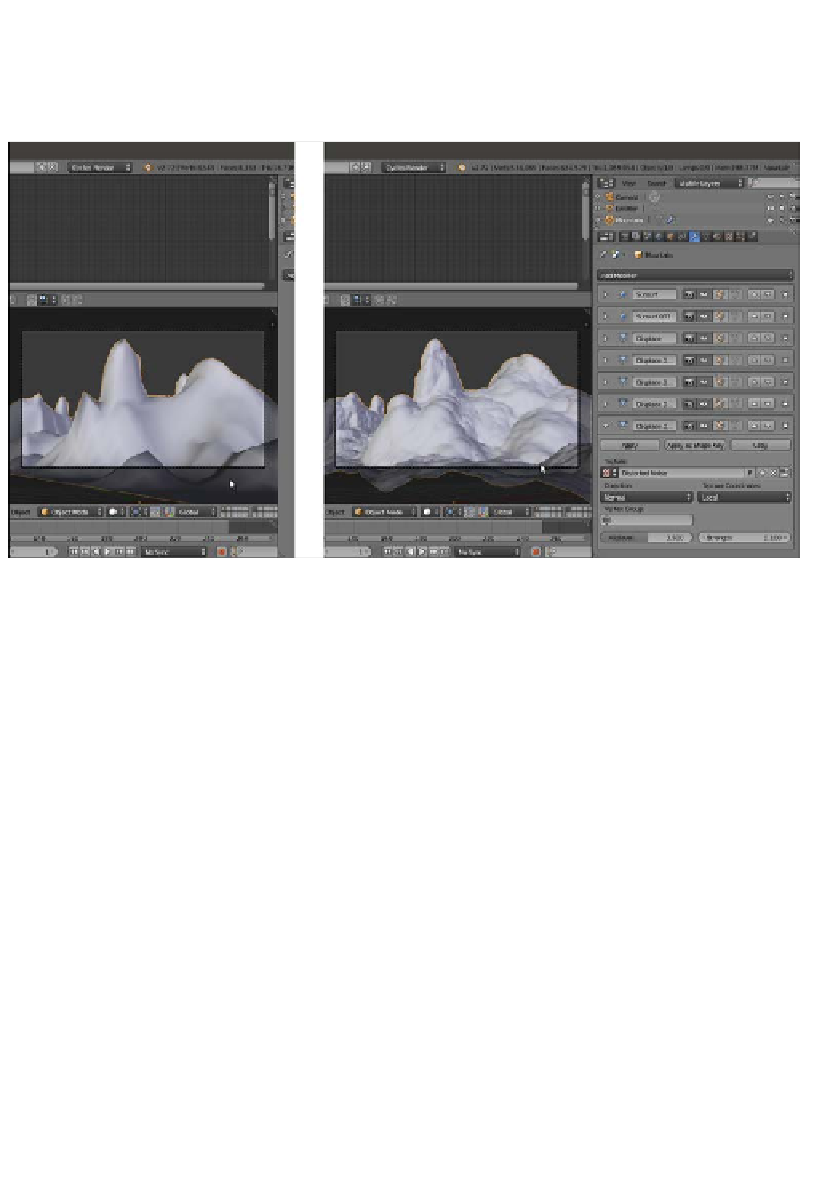
8. Assign a fifth Displace modifier. In the Texture window, assign a Distorted Noise
texture. Set the Noise Distortion to Voronoi F1, Basis to Improved Perlin, Distortion
to
2.000
, and Size to
3.30
. Back in the Displace modifier panel, set the Strength to
0.100
as shown in the following screenshot:
The mountain object obtained using different settings—without and with the several modifiers
9. Now disable the Display modifier in viewport button (the eye icon) of each modifier.
10. Go to the World window and click on the Use Nodes button. Then click on
the little square with a dot on the right side of the Color slot. From the pop-up menu,
select Sky Texture. On the Background node, set the Strength value to
1.200
.
11. Add a Mix Shader node (press
Shift
+
A
and navigate to Shader | Mix
Shader) and paste it between the Background and the World Output nodes. Switch
the link of the Background node with the second input socket.
12. Add a Texture Coordinate node (press
Shift
+
A
and navigate to Input |
Texture Coordinate), a Mapping node (press
Shift
+
A
and navigate to Vector |
Mapping), an Environment Texture node (press
Shift
+
A
and navigate to Texture |
Environment Texture), and a new Background node (press
Shift
+
A
and navigate to
Shader | Background).
13. Connect the Generated output of the Texture Coordinate node to the Vector
input socket of the Mapping node, and the output of this node to the Vector input
socket of the Environment Texture node. Connect the Color output of this node to
the Color input socket of the second Background node.
14. Connect the output of the second Background node to the first input socket
of the Mix Shader node, and set its Strength to
0.250
. Add a Light Path node
(press
Shift
+
A
and navigate to Input | Light Path). Connect the Is Camera Ray
output to the Fac input socket of the Mix Shader node.