Graphics Reference
In-Depth Information
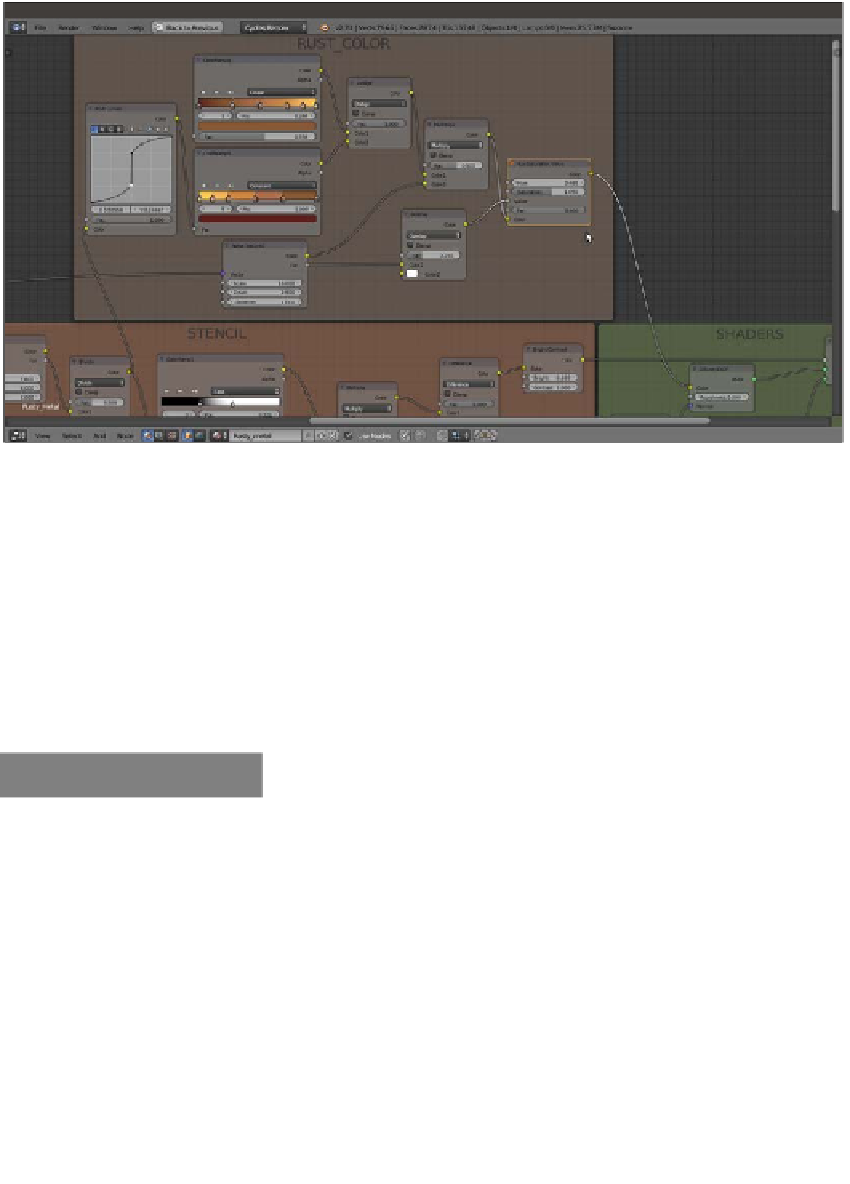
The color of the rusty surface added to the network
39. Save the file as
Metal_rusty.blend
.
How it works...
From step 2 to step 4, we built the basic shader arrangement. From step 6 to step 15,
we made the STENCIL frame to separate the rust material from the polished metal.
From step 17 to step 23, we built the bump effect for the rust, and from step 26 to
step 37, we added the rust color.
There's more...
We used the Dirty Vertex Colors layer named
Col_vp
again, this time to give a denser
pattern to certain areas of Suzanne compared to other areas. Remember that a Vertex
Colors layer can be modified and improved by manual vertex painting on the mesh in
Vertex Paint mode. We can also use a gray-scale image map, painted in GIMP or in
Blender itself and then UV-mapped on the mesh to obtain more precise and localized effects.