Graphics Reference
In-Depth Information
8. Select the first Cube and assign a Bevel modifier. Set the Width value to
0.0200
.
Move it higher in the stack of modifiers and place it before the Boolean modifier.
9. Assign a Subdivision Surface modifier and set both the Subdivisions levels to
2
.
Check the Optimal Display item and move it higher in the stack. Place it before the
Boolean modifier but after the Bevel modifier.
10. Press
T
to call the Tool Shelf panel. Set the Cube shading to Smooth.
11. Press
Shift
, select both Cube and the Cube.001 objects, and rotate them on
z
axis
towards the Camera (press
R
, then press
Z
, enter
-40
, and then press
Enter
).
12. Press
T
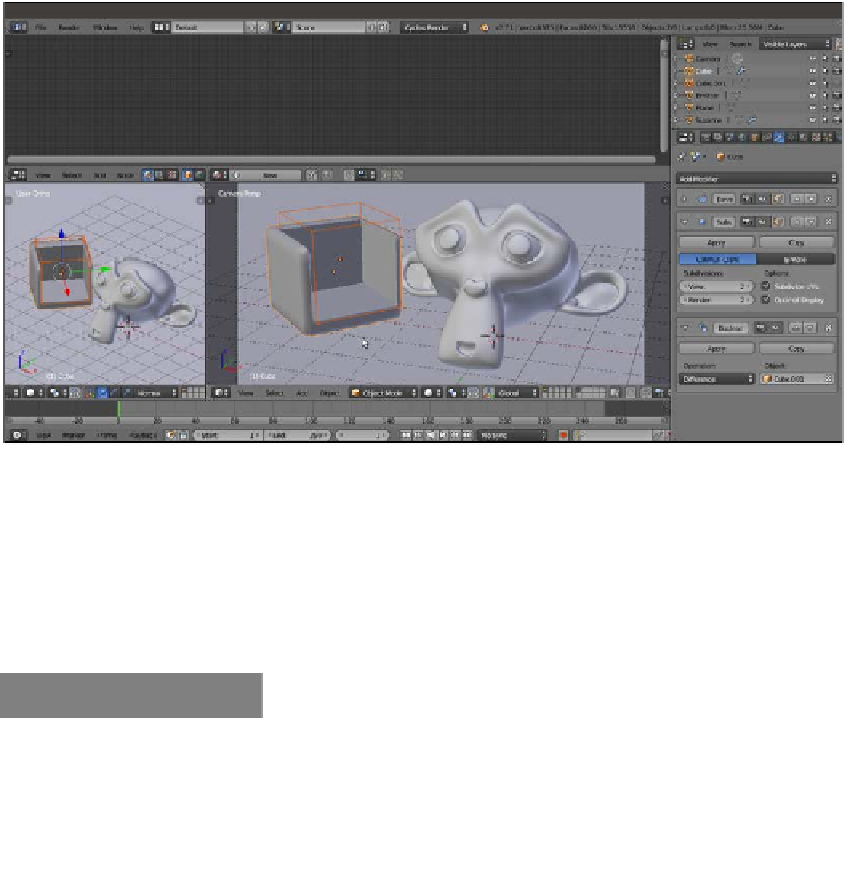
to close the Tool Shelf panel. The following screenshot shows the process
of building the box object:
Building the box object by a Boolean modifier
13. Select the Plane object, and in the Material window, switch the Diffuse BSDF shader
with a Mix Shader node. Then, in the Shader slots, select a Diffuse BSDF node and
a Glossy BSDF shader node. Add a Layer Weight node (press
Shift
+
A
and navigate
to Input | Layer Weight) and connect the Facing output to the Fac input socket
of the Mix Shader node. Set the color of the Diffuse BSDF node as follows: R to
0.530
, G to
0.800
, and B to
0.800
.
How to do it...
Now we are going to create the material by performing the following steps:
1.
Select Suzanne and click on New in the Material window under the Properties
panel or in the Node Editor toolbar. Rename the material
Plastic_expanded_
polystyrene
.