Graphics Reference
In-Depth Information
4. Save the file as
9931OS_start_smoothed.blend
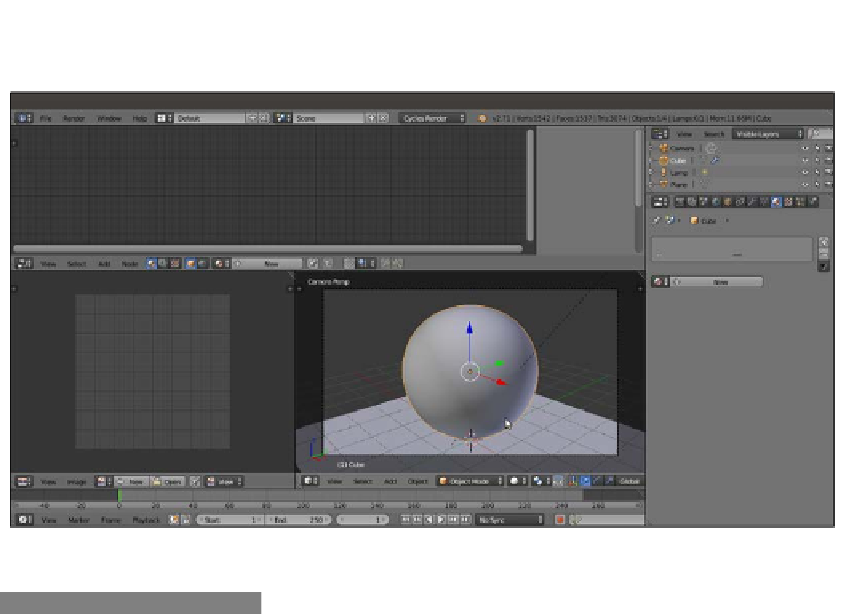
. The customized Default screen
will now look as shown in the following screenshot:
The customized Default screen with the subdivided Cube
How to do it...
Now we are going to create the rock material by performing the following steps:
1.
Select the Spheroid (the smoothed Cube) and click on New in the Material window
under the Properties panel or in the Node Editor toolbar. Rename the material
Rock_proc_01
.
2.
In the Node Editor window, add a Noise Texture node (press
Shift
+
A
and navigate
to Texture | Noise Texture). Then press
Shift
+
D
to duplicate it three times. Adjust
the four Noise Texture nodes in a column, and in the Properties panel to the right
(press
N
key if it is not already present), label them
Noise Texture01
,
Noise
Texture02
,
Noise Texture03
, and
Noise Texture04
.
3.
Add a Texture Coordinate node (press
Shift
+
A
and navigate to Input | Texture
Coordinate) and a Mapping node (press
Shift
+
A
and navigate to Vector |
Mapping). Connect the Object output of the Texture Coordinate node to the blue
Vector input of the Mapping node. Then connect the Mapping node's Vector output
to the Vector input sockets of the four texture nodes. Set the Mapping node's
Location values to
0.100
for X and
-0.100
for Y and Z, as shown in the
following screenshot: