Graphics Programs Reference
In-Depth Information
Let's give the Pen tool a try.
1.
Open the file Ch05_Paths.tif from the Chapter 5 folder.
2.
Choose the Pen tool from the Tools panel or press the key-
board shortcut P.
3.
Choose the following options from the Options bar:
•
Choose Shape Layer from the Tool Mode menu to put a
solid color over your image and make it easier to see if you
are accurately tracing the object. You can click the color
well and choose the color you want to use.
•
Change the shape stroke width slider to 0.00 pt to remove
any stroke.
•
Select Auto Add/Delete so anchor points will automatically
be added when you click a line segment. Likewise, Photo-
shop will automatically delete a previous anchor point if
you click directly on the anchor point with the Pen tool.
video 31:
Pen Tool
•
Click the Settings menu (gear icon) in the Options bar to
access the submenu. Select the Rubber Band option to
make it easier to preview path segments while drawing.
4.
Position the Pen tool in the lower-left corner of the extruded
border and click and drag in the angle of the curved border.
An initial anchor point is added.
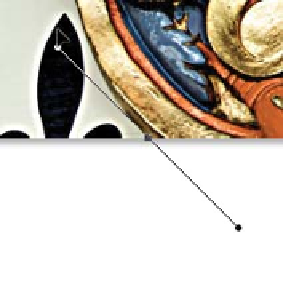
5.
You' l l now ne e d t o d r aw c u r ve d p a t h s . W he n you c l ic k a t t he
top of the image to add a new point, keep the mouse button
pressed. You can drag to create the curve:
Remember that clicking adds a point and
a straight line, whereas clicking and drag-
ging produces a point with a curved line:
•
Drag away from the curve for the
first point.
•
Try to minimize the number of anchor
points added. Move forward along the
object and pull to form the curve. You
don't need a perfect shape yet.