Graphics Programs Reference
In-Depth Information
1.
Open the file Ch04_Smart_Object_BG.psd from the Chapter 4
folder. A background design for a multimedia presentation
opens. Let's add a photo layer.
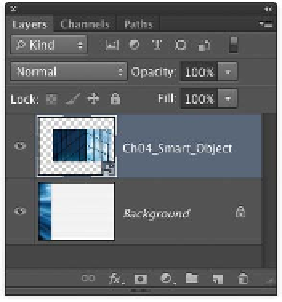
2.
Choose File > Place to add a new document as a layer. Select
the file Ch04_Smart_Object.tif from the Chapter 4 folder and
click Place.
Tip
Another Path to a Smart
Object
Besides using the Place command
to create a Smart Object, you can
select one or more objects in the
Layers panel and choose Layer >
Smart Objects > Group into
New Smart Object.
Tip
Smarter Smart Objects
In Photoshop, you can apply per-
spective transformations to Smart
Objects as well. Simply follow the
instructions in the “Free Transform
Command” section earlier in this
chapter.
3.
Size the image using the control handles. The controls are
identical to those you used with the Free Transform command.
Scale down the image to a very small size. Apply the transfor-
mation by clicking the Commit button.
4.
Now, let's try scaling the image larger. Invoke the Free Trans-
form command for the selected layer by pressing Command+T
(Ctrl+T). Scale up the image to its original size. Apply the
transformation. Notice that the image remains sharp. This is
because the Smart Object contains a full resolution copy of the
image embedded inside the layer.