Graphics Programs Reference
In-Depth Information
3.
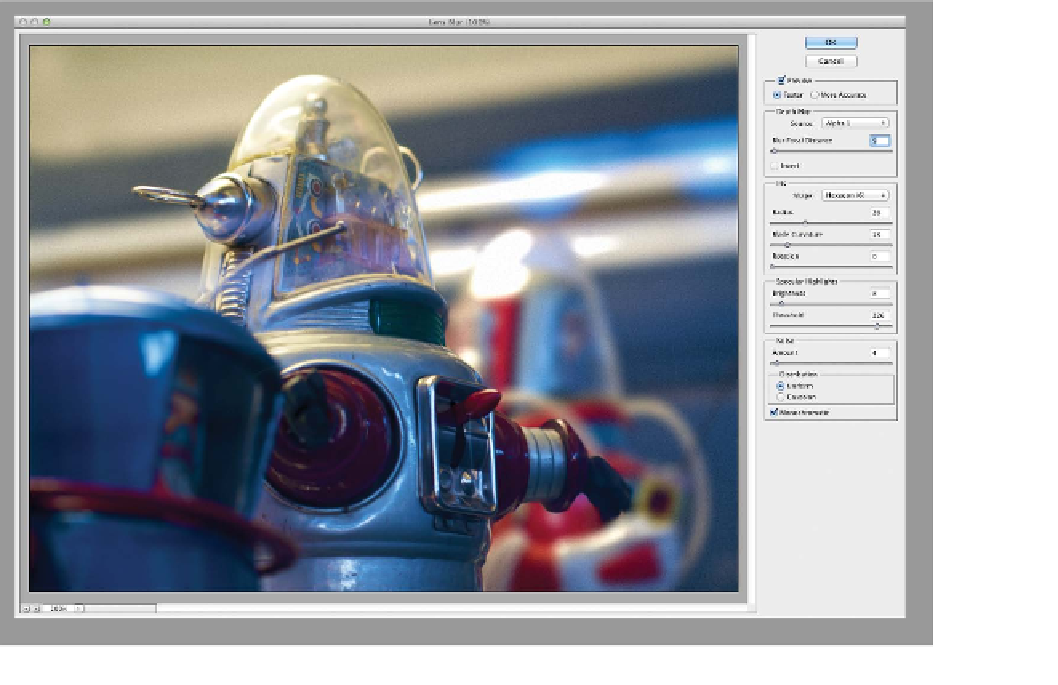
Choose Filter > Blur > Lens Blur to run the Lens Blur filter.
4.
Choose the alpha channel from the Source menu. You can
click the Invert box if you need to reverse the blur. For faster
previews, choose Faster. When you're ready to see the final
appearance, select More Accurate.
5.
Adjust the Iris shape to curve or rotate the iris. Photoshop
mimics how a traditional lens operates. Even if you are not
an experienced photographer, you can twiddle and adjust as
desired.
6.
Move the Blur Focal Distance slider until the desired pixels are
in focus. Additionally, you can click inside the preview image
to set the Blur Focus Distance.
7.
You c a n a dd S p e c u l a r H i g h l i g ht s by a dj u s t i n g t he T h r e s hold
slider. You must set the cutoff point for where highlights occur.
Then increase the highlights with the Brightness slider.
8.
Finally, it's a good idea to add a little noise/grain back into the
image. Normally, the blur obscures this, but putting it back in
makes the photo seem more natural as opposed to processed.