Graphics Programs Reference
In-Depth Information
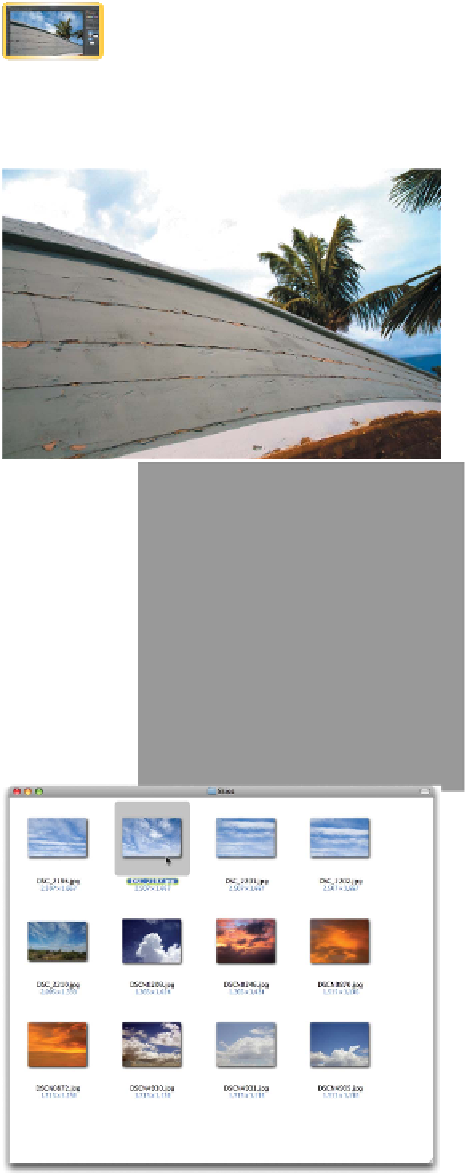
Blown-out Skies
A professional photographer can spend a good part of a day
waiting for the perfect sky and weather conditions. You, however,
may not be as lucky. Skies will often be washed out and appear
missing due to overexposure. One solution is to take pictures of
the sky when it looks its best, and then use a few
techniques to combine two or more images into
a new composite.
video 89:
Replacing Skies
1.
Close any open files, and then open the file
Ch11_Fix_Sky.tif from the Chapter 11 folder.
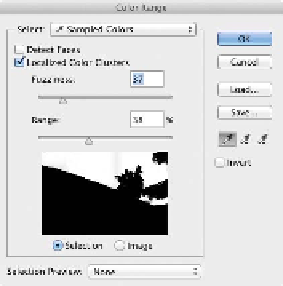
2.
Use the Color Range command (Select >
Color Range) to choose the sky region.
3.
Subtract any stray selections in the lower half
of the photo by using the Lasso tool and hold-
ing down the Option (Alt) key. Alternatively,
switch to Quick Mask mode for more detailed
touch-up of the selection.
4.
Double-click the
Background
layer to float it.
Name the layer Boat and click OK.
5.
Invert the selection by choosing Select >
Inverse or by pressing Shift+Command+I
(Shift+Ctrl+I).
6.
Use the Refine Edge command to improve
the selection and add a layer mask to the
image.
7.
Click the Add layer mask button to mask the
sky area.
Let's now add a new sky. You'll find a diverse
collection of skies in the Chapter 11 folder in
a subfolder named Skies. Match one that has
the right color and time of day for this photo
(try DSC_2197.jpg). Feel free to use the others
for future projects.
8.
Choose File > Place and select the file
DSC_2197.jpg. Press Return (Enter) to apply
the placed photo.