Graphics Programs Reference
In-Depth Information
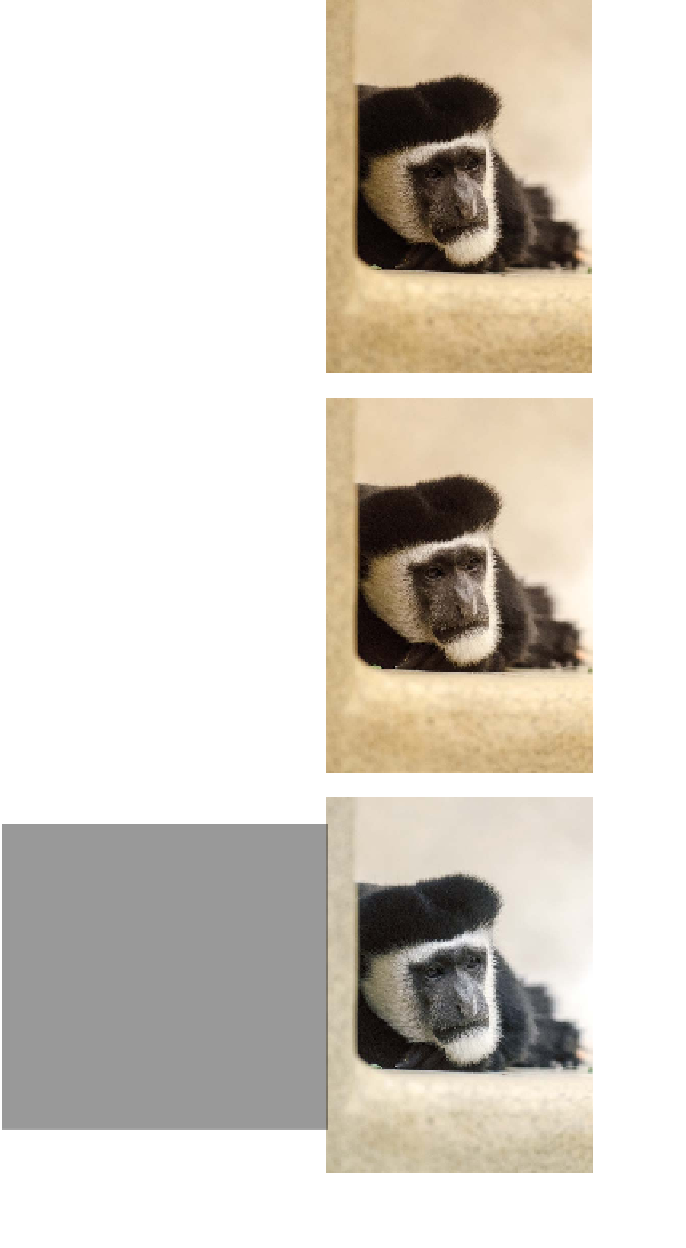
Auto-Levels
When working with the Levels adjustment layer, you may have
noticed the Auto button. This command button triggers an
analysis of the histogram data by Photoshop that is then used to
modify the individual controls of the Levels adjustment. In many
cases this results in an image that is properly adjusted for color
balance and exposure issues. In others it will get you closer to a
corrected image.
1.
Close any open files, and then Open the file Ch10_Auto_
Levels1.tif from the Chapter 10 folder.
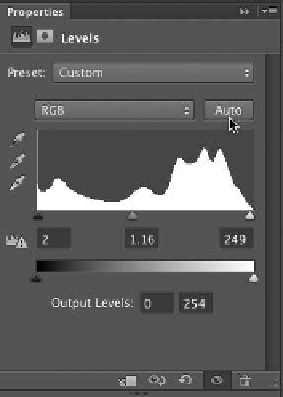
2.
Add a Levels adjustment layer by clicking the Levels icon in
the Adjustments panel.
3.
Click the Auto button to
perform an automated
adjustment for the image.
The image's levels and color
are adjusted.
4.
To rei ne how t he a ut oma t ic
adjustment works, hold
down the Option (Alt) key
and click the Auto button
again. A new dialog box
opens.
5.
Select Enhance Per Chan-
nel Contrast and Snap
Neutral Midtones to create
a very natural balance of
colors for the image.
6.
Click OK to close the
dialog box.
7.
Adjust the middle slider
(gray) to refine the Levels
adjustment to taste.