Image Processing Reference
In-Depth Information
73
Figure 4.2
Here are variations on a theme. All four of these images use a different white balance as selected by the White balance
tool. Any of them could be considered correct depending on the mood I want to convey. Which is best? You decide!
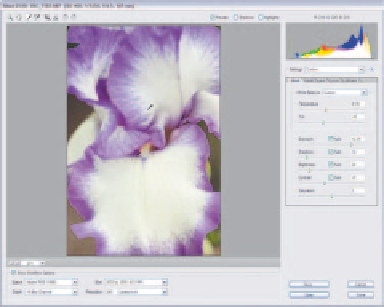
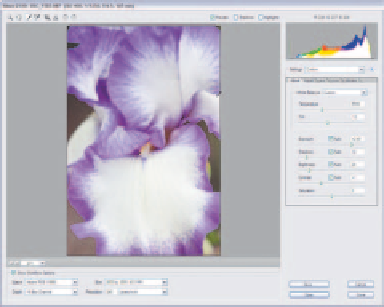
Starting with a high key image open in Camera Raw, adjust the Tint slider in the
direction you want the final image to go. To add blue or green tones, adjust to the left.
Adjusting the slider to the right will add reds and sepias. Figure 4.3 shows an original
as well as three alternatively toned images.
Controlling Noise with Luminance Smoothing
Luminance Smoothing is used to control the noise that appears in some digital images,
particularly at higher ISO settings or with long exposures. Luminance noise looks like
variations in tone, particularly in the shadow areas of an image, reminding many
people of the grain in film. Most images, particularly those shot at lower ISO settings
or shorter exposure lengths, will not need any changes to Lumanince Smoothing, so
don't plan on applying this to every image you convert.
Using the Luminance Smoothing control is easy enough: anything above zero
will begin to remove the random noise. (If you're using Photoshop, this slider is on the
Camera Raw Details tab.) The drawback to the control is that some softness will be
introduced to the image as part of the correction. To get started, I recommend zooming
in to at least a 100 percent preview of the area you are most concerned about, as
shown in Figure 4.4.


Search WWH ::

Custom Search