Image Processing Reference
In-Depth Information
Note:
Alternatively, you can use the Selection Brush or Magic Wand to create a selection
before using the Eraser tool. This will confine any erasing to the selected area. Select the area of your
image that you want to modify and then make your edits.
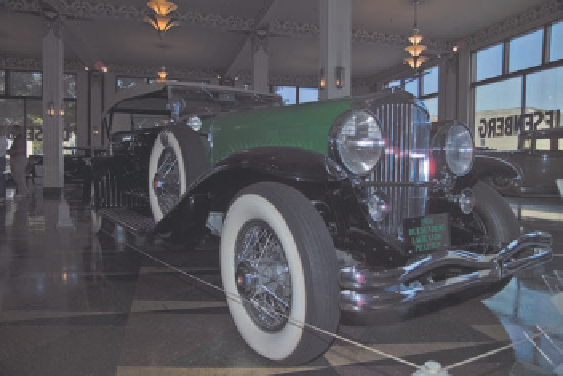
The final result takes a steady hand but can do a good job at creating an image
with much better dynamic range (Figure 7.11).
Figure 7.11
After being edited in Elements,
the final image has a wider
dynamic range than the original
images.
133
Note:
Photoshop CS2 adds a new feature, High Dynamic Range (HDR), which makes the process of
merging multiple images easier. However, it does require more preparation when shooting. To get the
most from HDR, you need to shoot multiple tripod-locked images (three to seven, depending on the
dynamic range in the scene), each at a different exposure one stop apart. (I recommend using Aperture
priority to keep a fixed depth of field and changing the shutter speed.) Choosing File
>
Automate
>
Merge
to HDR will let you select the images and then create a high dynamic range image that contains all the
detail possible. The files are 32 bit and must be converted for printing or other use. For more information, I
recommend
Photoshop CS2 Savvy
by Romaniello and Kloskowski (Sybex, 2005).
Resizing
I covered how to resize images using the Photoshop CS2 version of Camera Raw dur-
ing the conversion process in Chapter 5, “Automating Camera Raw.” In Chapter 6,
“Advanced Conversion Options,” I discussed resizing images when using the Crop tool.
You may remember from that discussion that I discouraged resizing during the conver-
sion process unless you had a specific use for the converted image.
Most images don't fall into this category though, so you'll most likely find your-
self resizing in Photoshop Elements or Photoshop. Both applications use the same
method and dialog, as shown in Figure 7.12.


Search WWH ::

Custom Search