Graphics Programs Reference
In-Depth Information
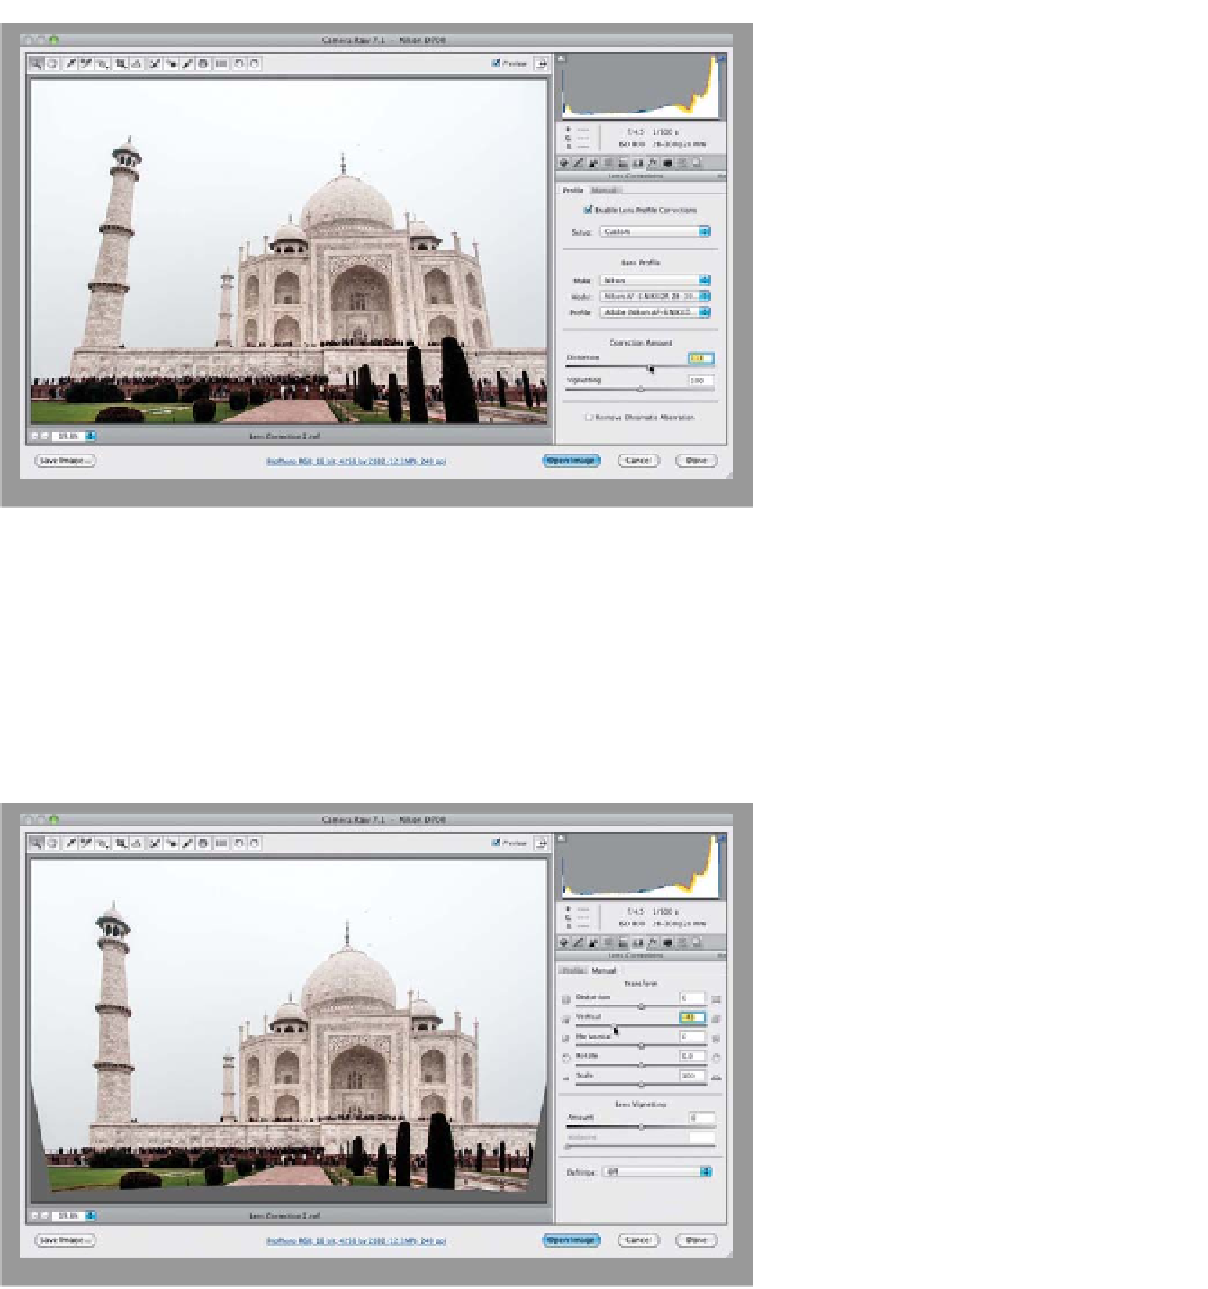
Step Seven:
Click on the Lens Corrections icon
and turn on the Enable Lens Profile
Corrections checkbox (at the top of
the Profile tab). It looks at the camera
data embedded into your photo and, if
it finds a match in its database, it ap-
plies the fix automatically, as it did here
by flattening out the foundation of the
building, removing the bloated look
from the front of the palace, and re-
moving the edge vignetting from all the
corners. Ahhhhhh, that's starting to look
a bit better. After it applied its profile
correction, the foundation beneath the
building still didn't look perfectly straight,
but luckily you can tweak the amount
of Distortion correction applied by the
profile by using the Correction Amount
sliders at the bottom (here, I had to drag
the Distortion slider over to 113 to get
the foundation perfectly straight).
Step Eight:
If you need more than a little tweak to
the profile (which we definitely do—look
at how the building and tower are leaning
back, back in Step Seven), then you need
to click on the Manual tab and basically
do it yourself. (
Note:
The changes you
make in the Manual tab are added on top
of what you already did in the Profile tab.)
In this case, we need to fix the vertical
geometric distortion, so drag the Vertical
slider to the left, and as you do, keep an
eye on the tower on the left. Your goal is
to make it straight, so simply drag to the
left until it is (in this case, I dragged over
to -43, as shown here). Now, pinching
the perspective of the image like this will
leave a dark gray gap at the bottom and
sides of the image (as seen here), but
we'll deal with that in just a moment. For
now, at least we've fixed the “leaning
tower of Agra” problem.
(Continued)