Graphics Programs Reference
In-Depth Information
Photoshop Killer Tips
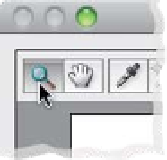
Cool Raw Retouching Trick
There's a pretty common retouching
technique in Photoshop for reducing hot
spots (shiny areas on a subject's face),
which uses the Healing Brush to com-
pletely remove the hot spot, then under
the Edit menu, you choose Fade Healing
Brush, and lower the Opacity there. A
little hint of the hot spot comes back,
so it looks more like a highlight than a
shine (it actually works really well). You
can do something similar in Camera Raw
when using the Spot Removal tool (set to
Heal) by removing the hot spot (or freckle,
or wrinkle) and then using the Opacity
slider in the Spot Removal options panel.
Rate Your Images in Camera Raw
Jump to Full Screen Mode
in Camera Raw
If you want to see your image in Cam-
era Raw as large as possible, just press
the
F key
, and Camera Raw expands to
Full Screen mode, with the window filling
your monitor, giving you a larger look at
your image.
Shortcut for Viewing Sharpening
The best zoom magnification to view your
sharpening in
Camera Raw is a
100% view, and
the quickest way
to get there is to
just double-click
the Zoom tool.
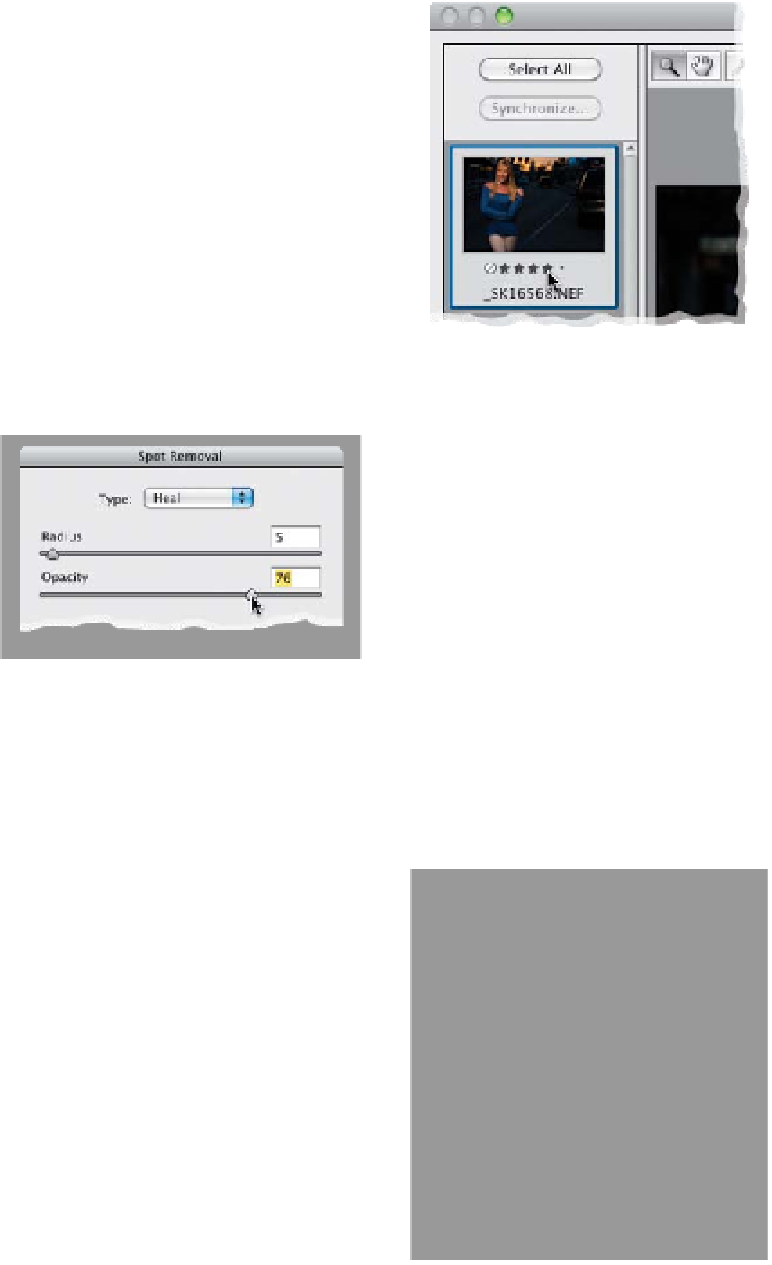
You don't have to be in Mini Bridge to
add or change star ratings. If you've got
multiple images open, you can do it right
in Camera Raw. Just press
Command-1,
-2, -3 (PC: Ctrl-1, -2, -3)
, and so on, to add
star ratings (up to five stars). You can also
just click directly on the five little dots that
appear below the thumbnails in the film-
strip on the left.
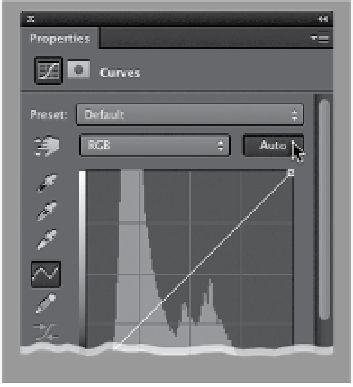
Don't Know Where to Start When
Editing an Image? Try Auto Levels
or Curves (They're Better in CS6)
In Photoshop CS6, Adobe greatly im-
proved the results of the Auto button
found in the Levels and Curves adjust-
ment layer settings in the Properties panel,
as well as in the Levels and Curves adjust-
ment dialogs. It often actually makes a
pretty decent starting point for editing
your image, especially if you have a tricky
image and you're not sure where to start.
Rule-of-Thirds Cropping
This one Adobe borrowed from Camera
Raw's sister program Photoshop Lightroom,
because (like in Lightroom) you can have
the “Rule-of-Thirds” grid appear over your
cropping border anytime by just clicking-
and-holding on the Crop tool in the tool-
bar, then choosing
Show Overlay
.
Get a Larger Preview Area
If you have multiple images open in
Camera Raw, and need more room to
see the preview of the image you're
currently working on, just double-click
right on that little divider that separates
the filmstrip from the Preview area, and
the filmstrip tucks in over to the left, out
of the way, giving you a larger preview.
To bring it back, jus t double - click on that
divider again (it's now over on the far-left
side of the Camera Raw window) and it
pops back out.