Graphics Programs Reference
In-Depth Information
Step Three:
If you're familiar with Photoshop's
Curves and want to create your own
custom curve, start by choosing any
one of the preset curves, then either
click-and-drag the adjustment points
on the curve or use the
Arrow keys
to
move them (I think it's easier to click
on a point, then use the Up and Down
Arrow keys on your keyboard to move
that part of the curve up or down).
If you'd prefer to start from scratch,
choose
Linear
from the Curve pop-up
menu, which gives you a flat curve. To
add adjustment points, just click along
the curve. To remove a point, just click-
and-drag it right off the curve (drag
it off quickly, like you're pulling off a
Band-Aid).
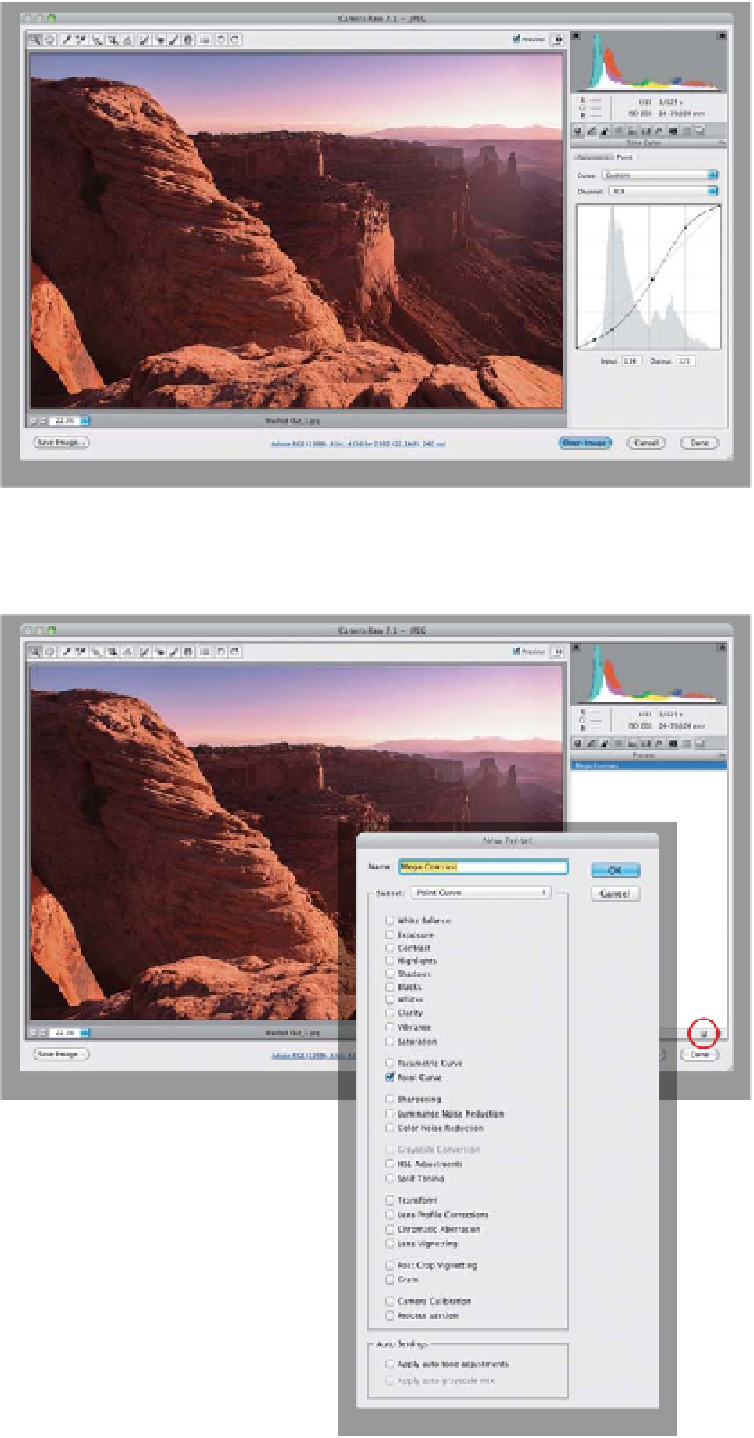
Step Four:
If you create a curve that you'd like to be
able to apply again to other photos, you
can save this curve as a preset. To do that,
click on the Presets icon (the second icon
from the right) near the top of the Panel
area to bring up the Presets panel. Next,
click on the New Preset icon (which looks
just like Photoshop's Create a New Layer
icon) at the bottom of the panel. This
brings up the New Preset dialog (shown
here). If you just want to save this curve
setting, from the Subset pop-up menu
near the top, choose
Point Curve
, and
it turns off the checkboxes for all the
other settings available as presets, and
leaves only the Point Curve checkbox
turned on (as shown here). Give your
preset a name (I named mine “Mega
Contrast”) and click OK.
(Continued)