Graphics Programs Reference
In-Depth Information
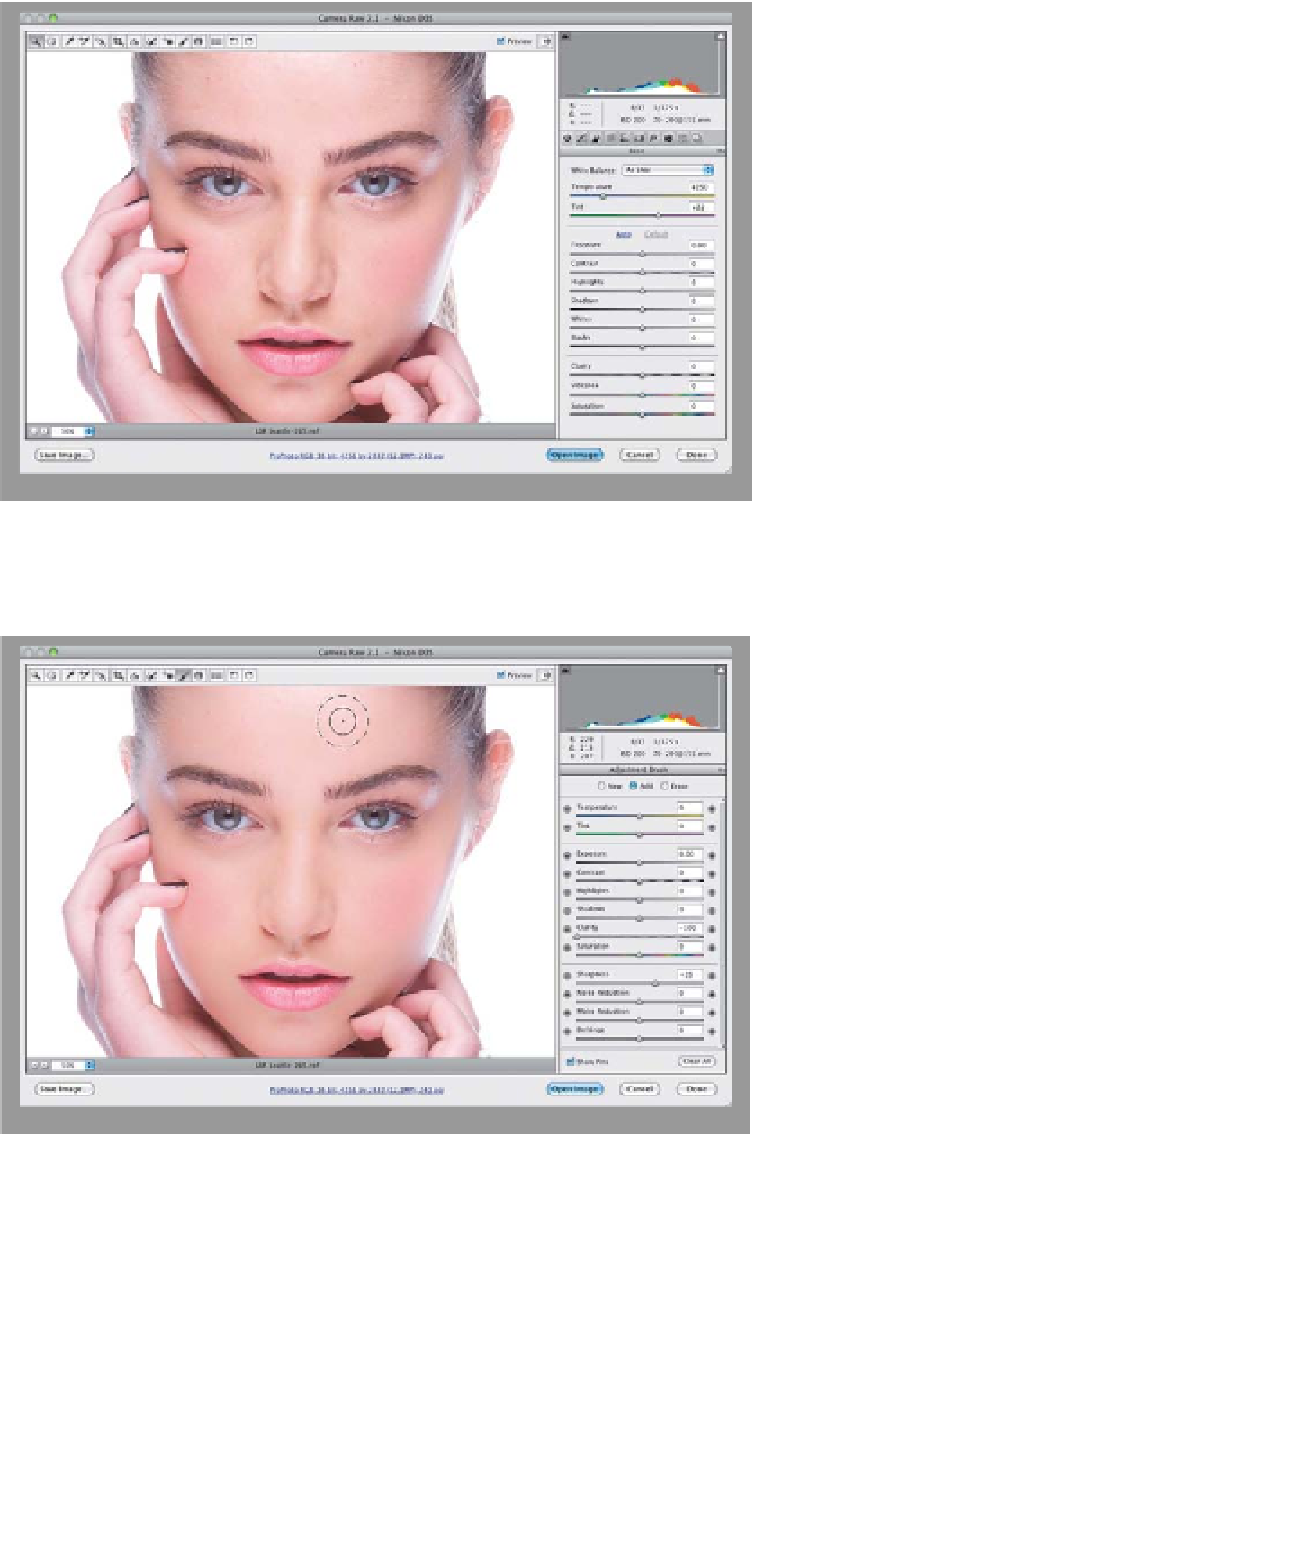
Step Three:
Of course, there are subjects where you
don't want to emphasize texture (like
women and children), and in those cases,
I don't apply any positive Clarity. However,
you can also use the Clarity control in
reverse—to soften skin. This is called add-
ing negative Clarity, meaning you can
apply less than 0 (zero) to reduce the mid-
tone contrast, which gives you a softening
effect, but you don't want to apply it to
the entire image, so you'd use the Adjust-
ment Brush to apply it (more on the
Adjustment Brush in Chapter 4). Here's
an original image without any negative
Clarity applied.
Step Four:
Here, I've taken the Adjustment
Brush (again, lots on how to use this
in Chapter 4), and I set the Clarity all the
way to the left, to -100, for super-soft
skin softening. To balance all that soft-
ness, I also increased the Sharpness
amount to +25 (more on this soon, too),
and then I painted over just her skin,
being careful to avoid any areas that
should stay nice and sharp, like her
eyes, eyebrows, nostrils, lips, hair, and
the edges of her face. Take a look at
how much softer our subject's skin
looks now. Now, if you need to soften
up some skin really quickly, and you're
not super-fussy about how it looks,
negative Clarity can do the trick.