Graphics Programs Reference
In-Depth Information
This is one of my favorite features in Camera Raw, and whenever I show it in a class,
it never fails to get “Oooohs” and “Ahhhhs.” I think it's because it's just one simple
slider, yet it does so much to add “snap” to your image. The Clarity slider (which is
well-named) basically increases the midtone contrast in a way that gives your photo
more punch and impact, without actually sharpening the image. I add lots of Clarity
anytime I want to enhance the texture in an image, and it works great on everything
from landscapes to cityscapes, from travel photos to portraits of men—anything
where emphasizing texture would look good.
Adding Punch
with Clarity
Step One:
The Clarity slider is found in the bottom
section of the Basic panel in Camera
Raw, right above the Vibrance and Sat-
uration sliders. (Although its official name
is Clarity, I heard that at one point Adobe
engineers considered naming it “Punch”
instead, as they felt using it added punch
to the image.) To clearly see the effects
of Clarity, first zoom in to a 100% view
by double-clicking on the Zoom tool up
in the toolbar (it looks like a magnifying
glass). In the example shown here, I only
zoomed to 25% so you could see more
of the image.
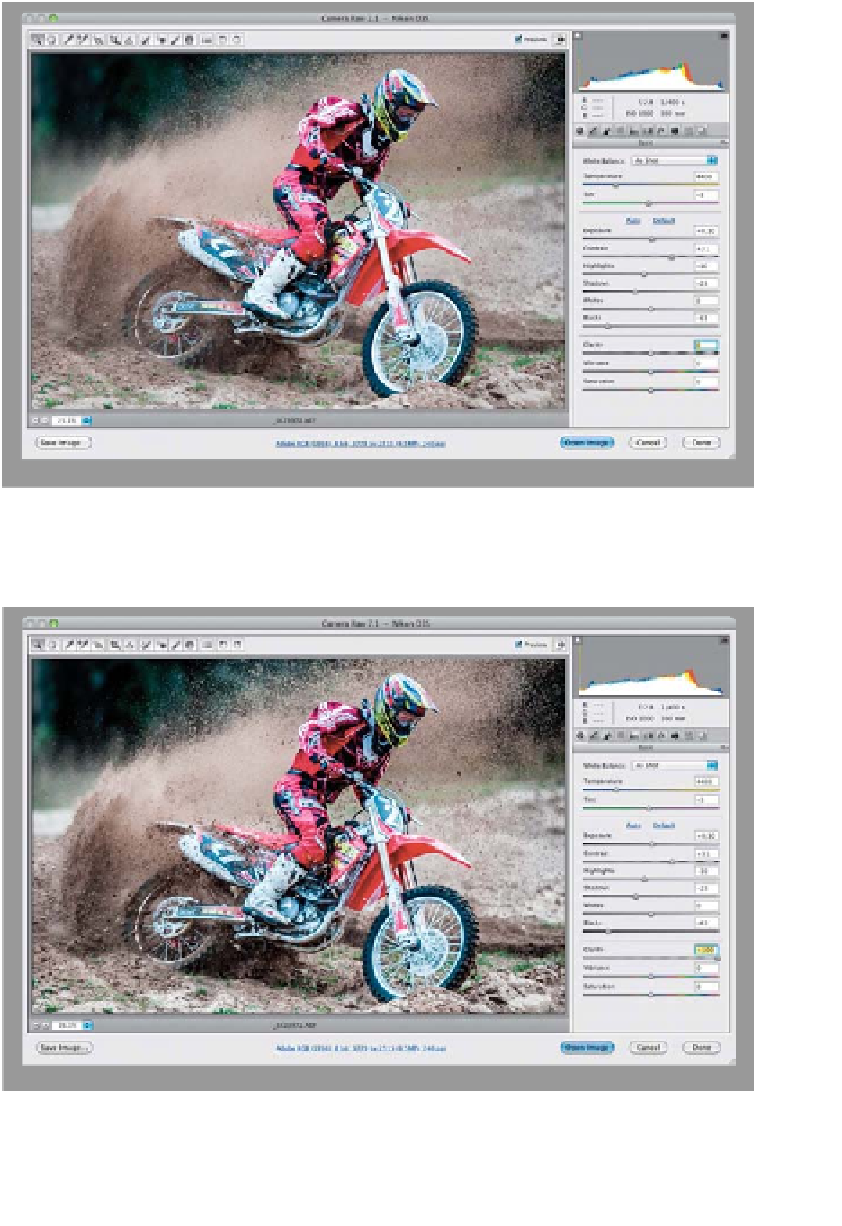
Step Two:
Using the Clarity control couldn't be
easier—drag the slider to the right to
increase the amount of punch (midtone
contrast) in your image (compare the top
and bottom images shown here). Here,
I dragged it over to +100, which is some-
thing you really couldn't get away with in
earlier versions of Camera Raw (you'd get
horrible halos around everything), but in
CS6, you can crank that puppy up and it
looks awesome! Any image I edit where
I want to emphasize the texture (land-
scapes, cityscapes, sports photos, etc.)
gets between +25 and +50 Clarity, but
now you can crank it up even higher in
most cases (as seen here).