Graphics Programs Reference
In-Depth Information
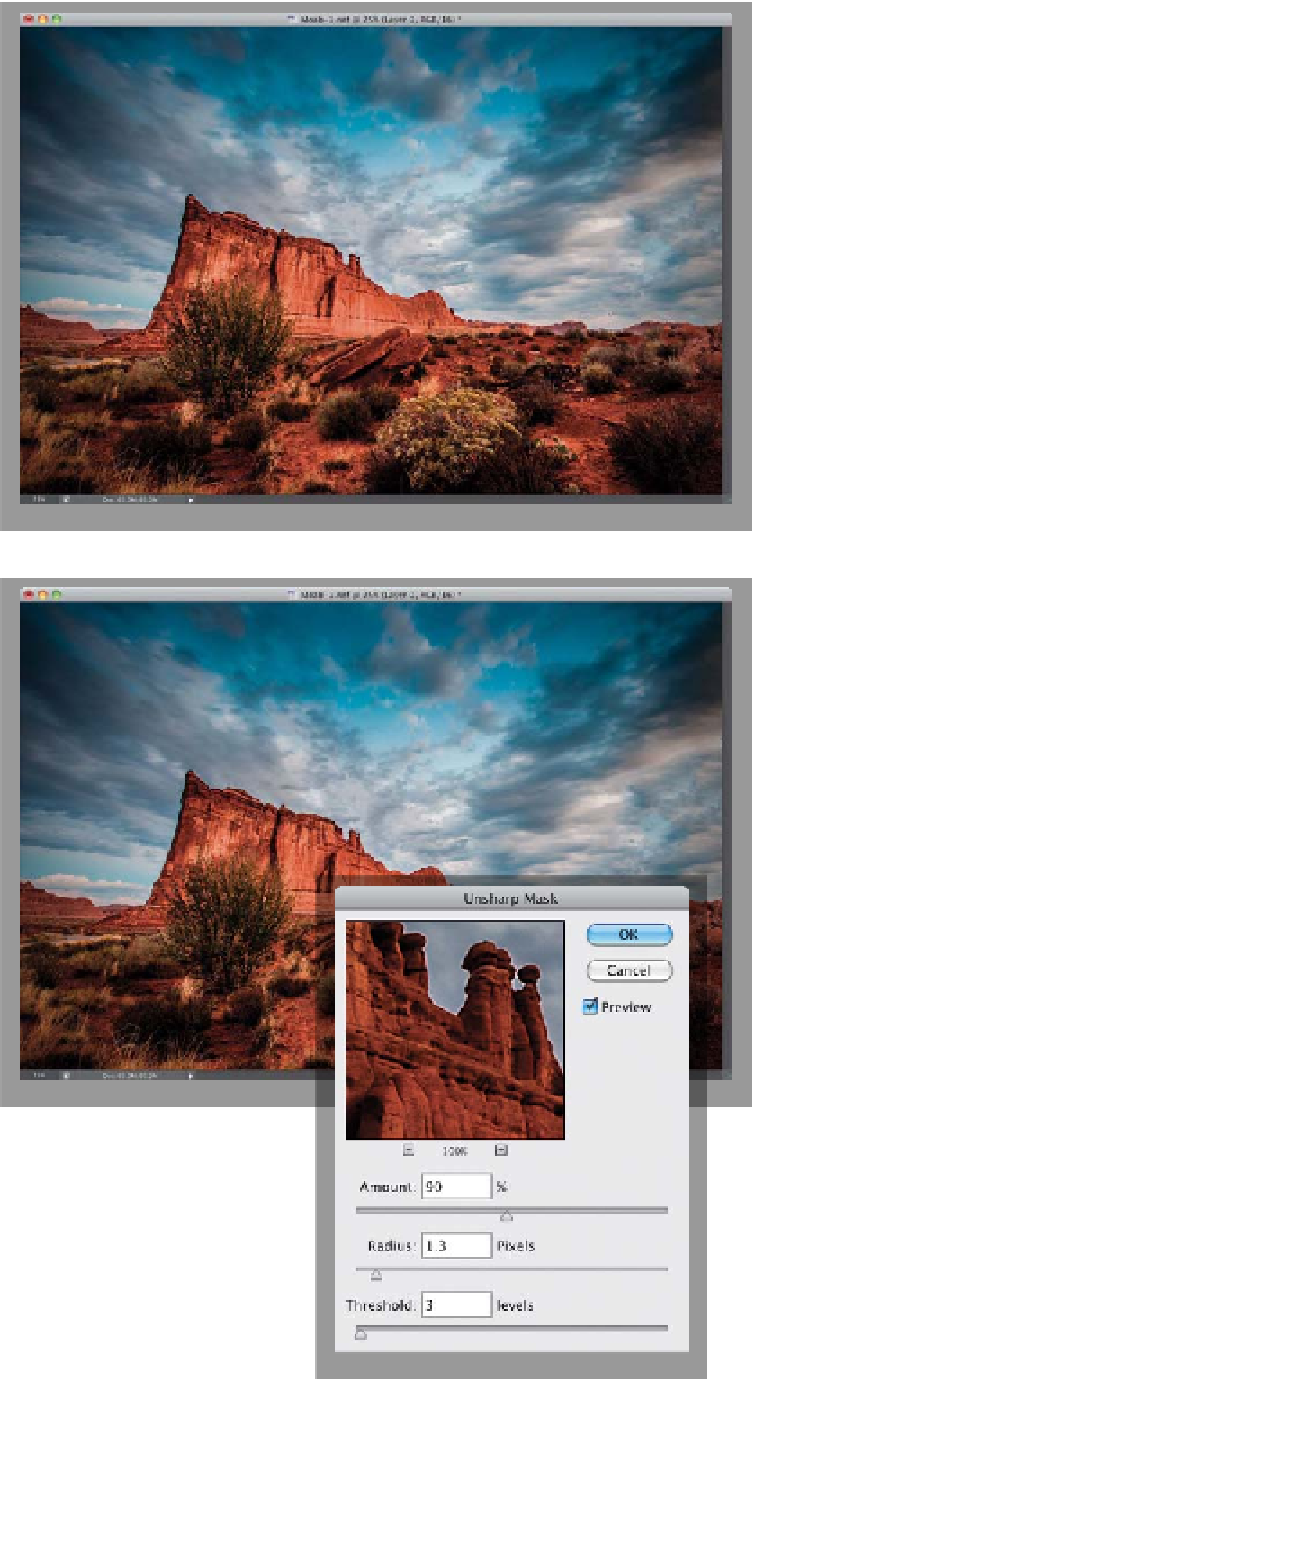
Step 11:
Here's the image after you've added the
edge darkening, and you can see how it
focuses your attention through the use
of light (your eye is automatically drawn
to the brightest thing in the photo), to
the mountains.
Step 12:
At this point, it's time to sharpen (I usu-
ally save this until last), so go under the
Filter menu, under Sharpen, and choose
Unsharp Mask
. Enter 90% for Amount,
set the Radius to 1.3, and set the Thresh-
old to 3 (more on sharpening, starting
back on page 328). This is some really
punchy sharpening (note the Radius
being increased past 1), but an image
like this (and most landscape images),
can really take a lot of sharpening and
they look great. Go ahead and click OK.
(Continued)