Graphics Programs Reference
In-Depth Information
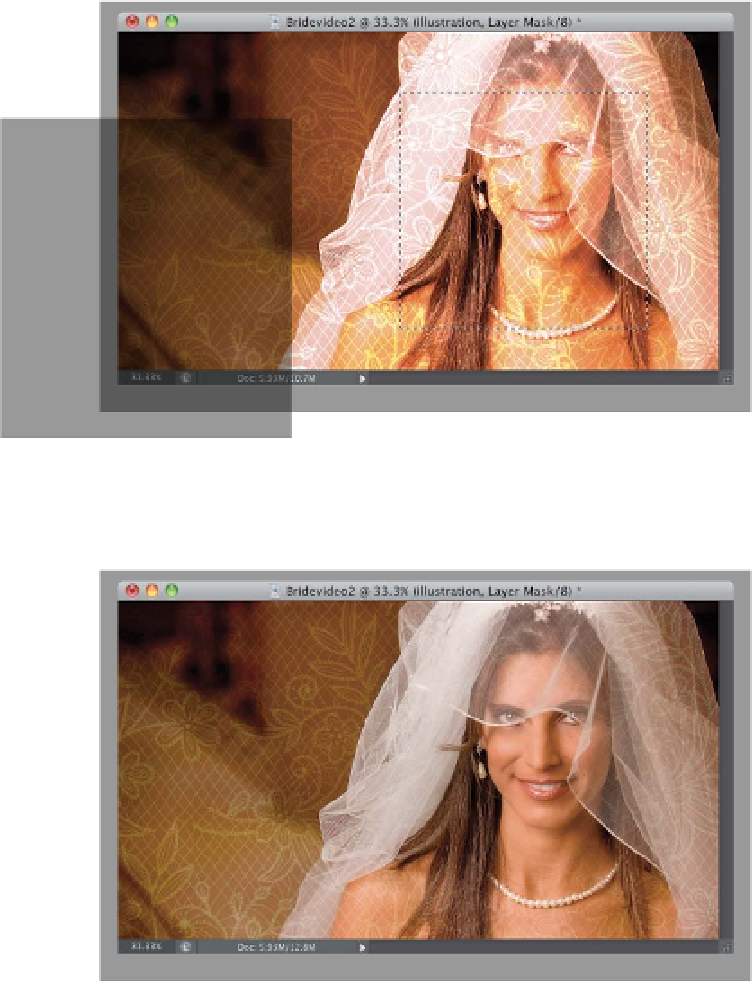
Step Three:
Now, change the blend mode of this
layer to
Overlay
, and you can see how,
by just changing the blend mode, the
pattern is now blending with our bride
video. Unfortunately, it's covering her
face, and that's generally not what we're
going for. So, we'll do three quick things
to fix this: (1) Add a layer mask to this pat-
tern layer by clicking on the Add Layer
Mask icon at the bottom of the Layers
panel (it's the third icon from the left).
(2) Get the Rectangular Marquee tool
(M)
,
and drag out a selection over your bride's
face. Make it very loose, so if your bride
moves a bit in the video, you won't see
the texture appear over her face. And,
(3) you're going to need to really soften
the edges of this selection, so there's a
smooth blend between the texture and
the bride. You do this by going under the
Select menu, under Modify, and choosing
Feather
. Enter 200 pixels and click OK.
Step Four:
Press
D
, then
X
, to set your Foreground
color to black, then press
Option-Delete
(PC: Alt-Backspace)
to fill your selection
with black. Since you're on the layer mask
on this layer, it masks away that area over
the bride's face, and leaves the pattern
everywhere but her face (as seen here).
Now, you can try out different blend
modes by pressing
Shift-+
(plus sign)
and just stop at the one that looks best to
you. In this case, I liked Soft Light, but also
try Hard Light, and lower the Opacity to
50% to get the look you see below.