Graphics Programs Reference
In-Depth Information
Besides adding the standard stuff in the Adjustments panel, we can also add
overlays and different texture effects using layer blend modes, just like we
would to a still image in Photoshop, but as always, there are a few little things
to Create “Looks”
to know about how these are handled when adding them over video.
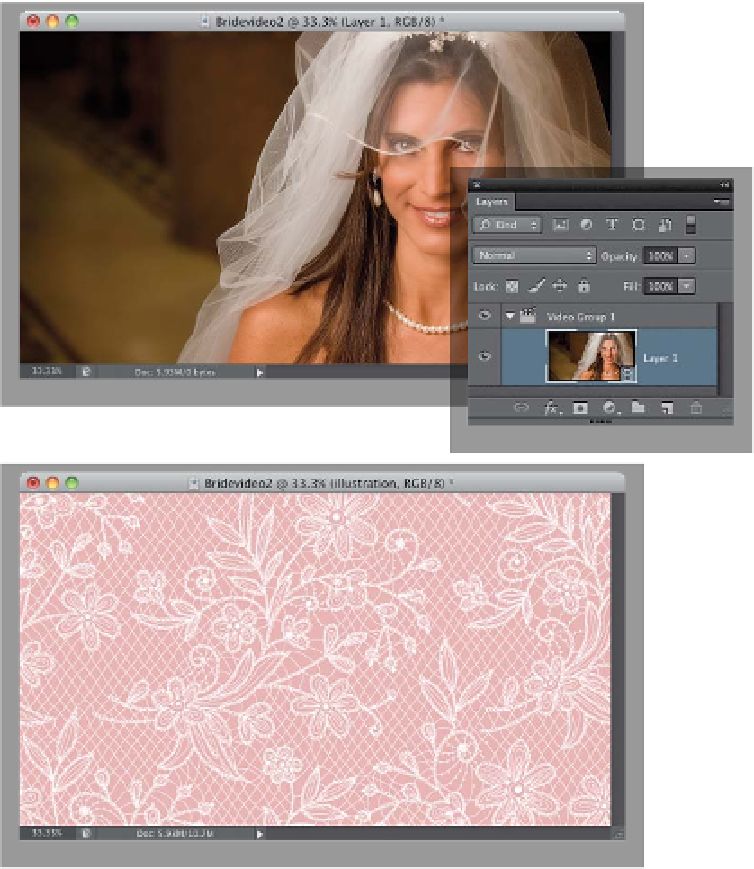
Step One:
Open the video you want to apply a
blend mode look to. I downloaded a lace
texture for this from iStockphoto (they've
got loads of these—just search for “wed-
ding,” then choose the Illustrations filter
at the right end of the Search field, so
it doesn't show photos, just illustrations.
The pattern we're using here, which you
can see in the next step, in high resolu-
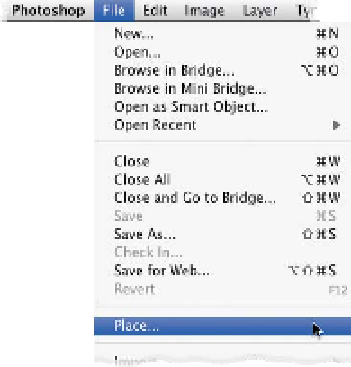
tion, costs $8). Now, go under the File
menu and choose
Place
(this will let us
open the pattern and scale it to the size
we want it).
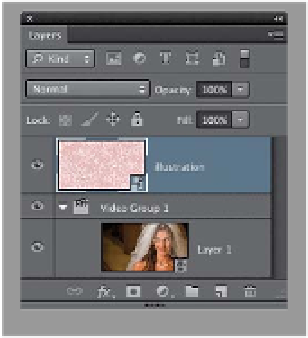
Step Two:
Navigate to the pattern file, click on it,
and then click Place. When your illustra-
tion appears, it will appear as a box with
a big X in it. Press-and-hold the Shift key,
grab one of the corner points, and resize
it so it fills the entire image area, then
press the
Return (PC: Enter) key
to lock
in your resizing. You're probably wonder-
ing why you're seeing the pattern ap-
pear in the Layers panel, but you don't
see it in your image window, right? That's
because, by default, it adds the new
file to the end of your video. To change
that, go to the Layers panel, click on the
pattern layer, and drag it out of Video
Group 1, up to the very top of the layer
stack, and then release the mouse button.
This puts the pattern on its own track in
the Timeline panel, but now you'll need
to click on it there and slide it over to
the left, until it's directly above your video
clip, and now you'll be able to see it.
(Continued)