Graphics Programs Reference
In-Depth Information
Step Seven:
Before we move on, one thing to keep
in mind is if you're not seeing your text
(but you can see that it's at the top of
the Layers panel, outside your group),
that's probably because you need to
move your playhead over the part of
your movie where the text appears.
Okay, now that your text is in place, you
can move it anywhere you want over
the video by simply dragging it with the
Move tool. If you want to change the
color of your text, you'd do it the same
way you do any other time: double-click
directly on the little “T” thumbnail in
the Layers panel (that's a shortcut to
select all the text on the layer), then go
to the Options Bar and click on the color
swatch, which brings up the Color Picker,
where you choose a new color and click
OK. Besides the controls in the Options
Bar, other Type controls are found in the
Character panel (go under the Window
menu and choose
Character
).
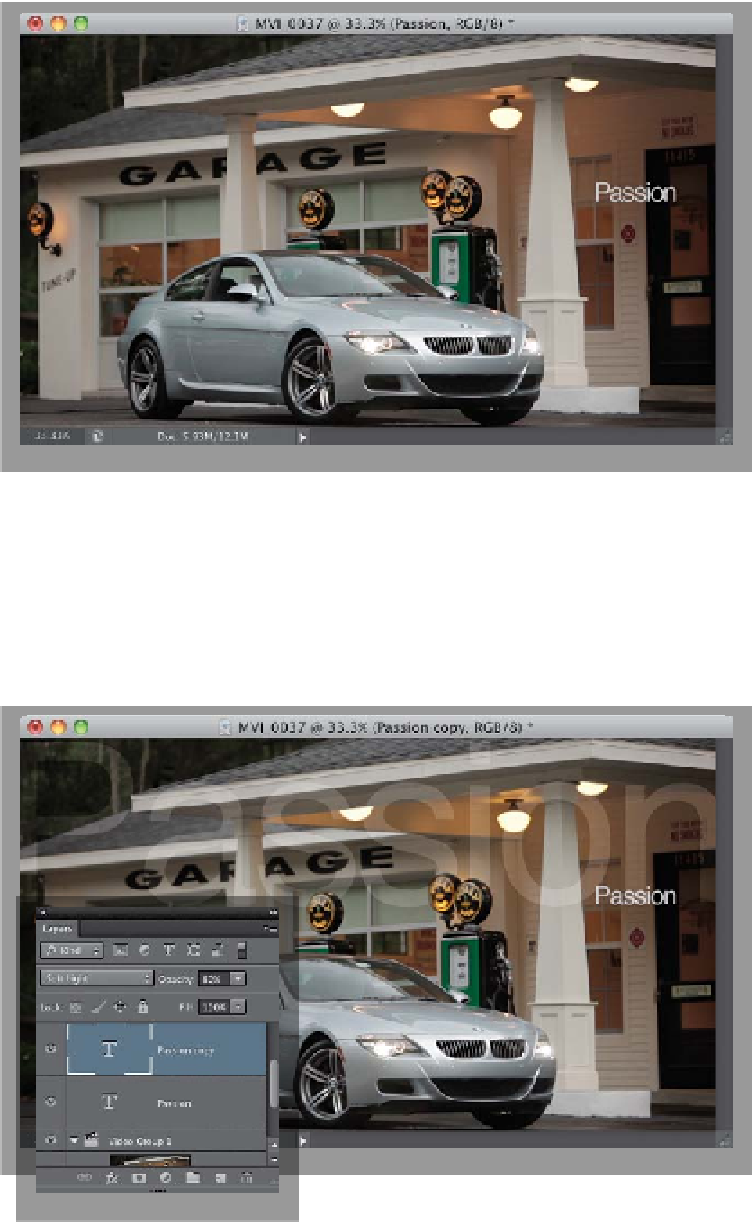
Step Eight:
While we're here, let's try a few more
type techniques. Press
Command-J (PC:
Ctrl-J)
to duplicate your Type layer. Press
Command-T (PC: Ctrl-T)
to bring up Free
Trans for m, press-and-hold the Shif t key,
grab a corner point, and drag the text on
this duplicate layer out so it fills the entire
image area from side to side (as seen here),
then position it near the top of the video.
Because you can pretty much do the
same stuff to a video that you can do
to a still image, you can do things like
changing the blend mode of the Type
layer (go ahead and change it to
Soft
Light
, so it blends in with the video), and
lowering the layer's Opacity (lower it to
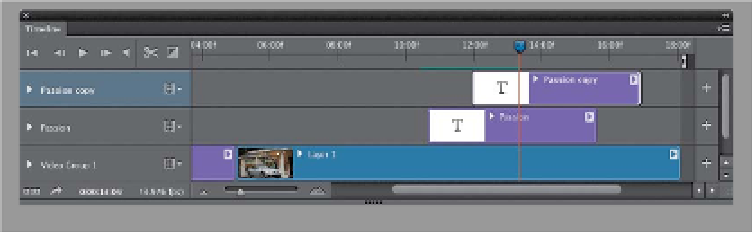
80%, as seen here). Lastly, drag this Type
clip a little further to the right in the
timeline, so the smaller word “Passion”
appears first, then the larger one.
(Continued)