Graphics Programs Reference
In-Depth Information
There are two ways to work with text in your video project: one is to create your text
in a separate Photoshop document (as if you were creating a slide for a slide show),
and then bring that into your project, or you can just add your text directly into your
video project, and here you'll learn both (and a couple of tips along the way).
Titles and
Step One:
The nice thing about adding text to your
videos in Photoshop is that you get to use
all the regular type controls. But, before
we start adding type to our video, if you're
primarily going to do title slides (an open-
ing slide or a closing slide), you might
want to consider just building those sepa-
rately in Photoshop and then dragging
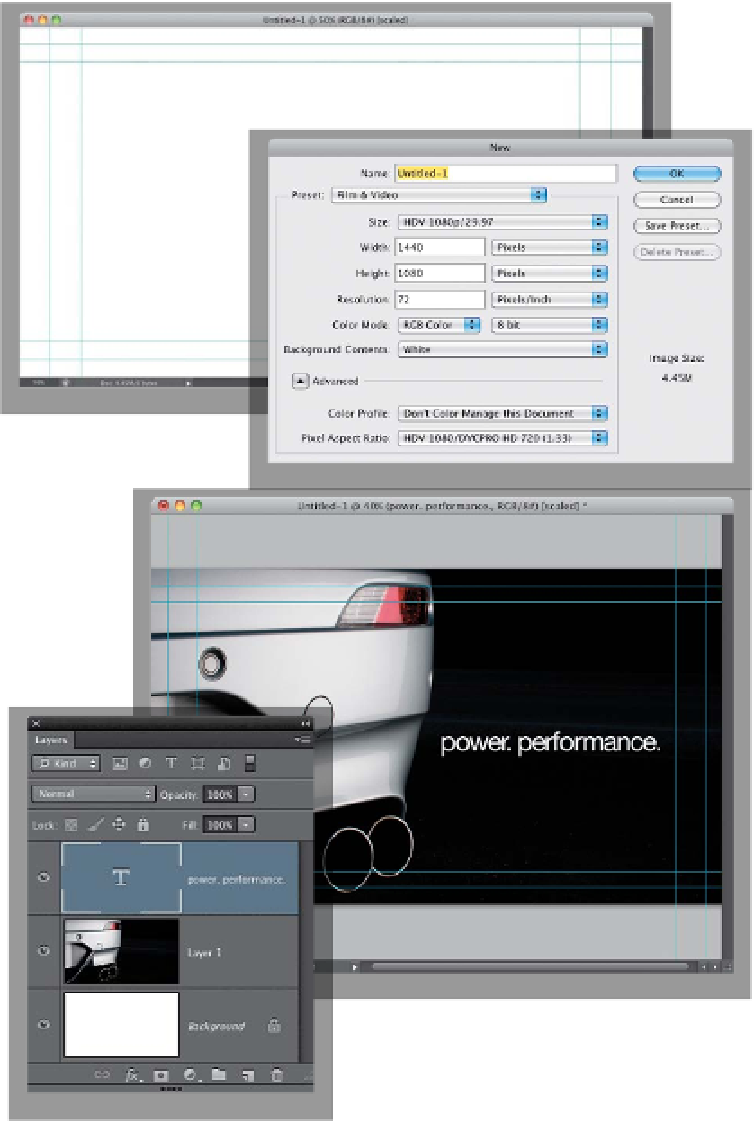
them into your video timeline. To do that,
go under the File menu, choose
New
,
and then from the Preset pop-up menu,
choose
Film & Video
. That gives you a
bunch of preset video sizes in the Size pop-
up menu. Choose the one that matches
the video you're going to be working with
(in my case, it was HDV 1080p/29.97). This
creates a new document, which you can
treat just like a photo (add backgrounds,
text, and so on).
Step Two:
If you want to use a photo as your back-
ground, just open the photo and, using
the Move tool
(V)
, click-and-drag it onto
your HD-sized document. Then, press
Command-T (PC: Ctrl-T)
to bring up Free
Trans for m. Press-and-hold the Shif t key to
keep things proportional, and click-and-
drag a corner point to resize your photo so
it fits (as best it can) within this wide-screen
document. Now, get the Type tool
(T)
, click
on your image, and type in your text (it's
best to keep your text inside those guides.
The area inside those guides is safe for put-
ting text without it clipping off if you were
to broadcast this video on television. Hey,
it could happen).