Graphics Programs Reference
In-Depth Information
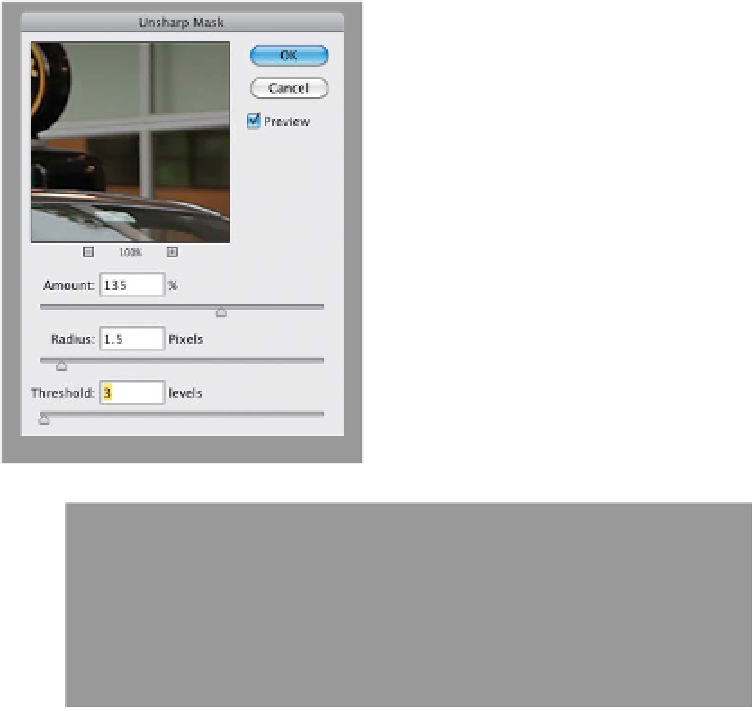
Step Five:
Go to the Layers panel and delete those
two adjustment layers, because now we're
going to look at how to apply Photoshop
filters to your video. First, go up under the
Filter menu, under Sharpen, and choose
Unsharp Mask
. When the dialog appears,
we're going to add some really heavy
sharpening—try Amount: 135, Radius: 1.5,
and Threshold: 3, and click OK. Now, click
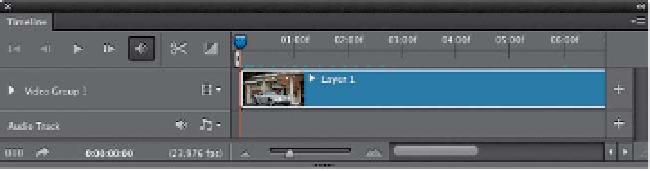
the Play icon to see how your video clip
looks all sharpened. You're probably won-
dering why you could see the sharpening
onscreen for a moment, but then as soon
as it started playing, the sharpening was
gone. That's because you can't just apply
a filter directly to a clip—it will only apply
it to the first frame (which is why you saw
it for a split-second, and then it was gone).
You have to do one ex tra step, so the filter
is applied to the entire clip.
Step Six:
Press
Command-Option-Z (PC: Ctrl-
Alt-Z)
a couple of times until the sharp-
ening is removed from that first frame.
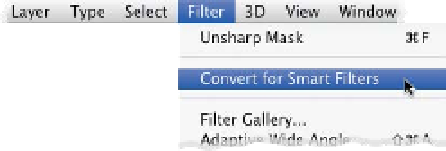
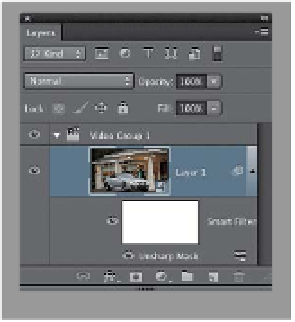
Now, to apply a filter to the entire clip
at once, you'll need to first convert this
clip into a smart object layer. Go under
the Filter menu and choose
Convert
for Smart Filters
(as shown here), and
a little tiny page icon will appear in
the bottom-right corner of your clip's
thumbnail in the Layers panel, letting
you know it's now a smart object. Then,
go back to the Unsharp Mask filter,
apply those same settings, and click OK.
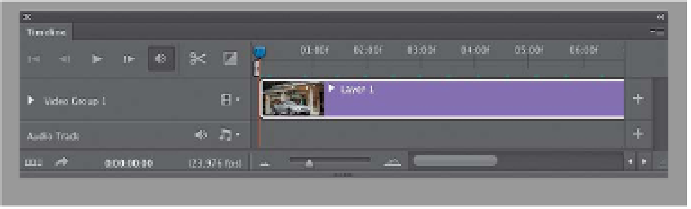
(
Note:
Applying a smart filter turns your
video clip's bar purple in the timeline, as if
it were a still image.) Now when you click
the Play icon, the sharpening appears
throughout the entire clip. But, there's a
decent chance on that playback you ran
into a problem.