Graphics Programs Reference
In-Depth Information
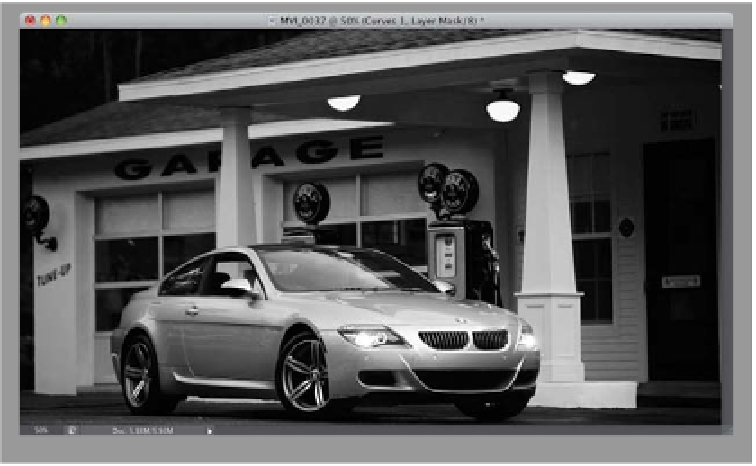
Step Three:
Here's something to keep in mind:
these adjustment layers aren't just
“one-click video ef fec ts”; you added
a regular Photoshop adjustment layer.
So, now think like you would if you were
adjusting a digital camera photo, and
do the same type of things (like, here,
I lowered the amount of red to darken
the windows of the garage, and then
increased the greens to make the gas
pumps brighter, just like I would on a
still, but it's applied to the entire video.
This is what is so darn powerful about
having video in Photoshop like this. We
can take the stuff we already know in
Photoshop and apply it to video without
having to learn a whole new program.
That, I love!
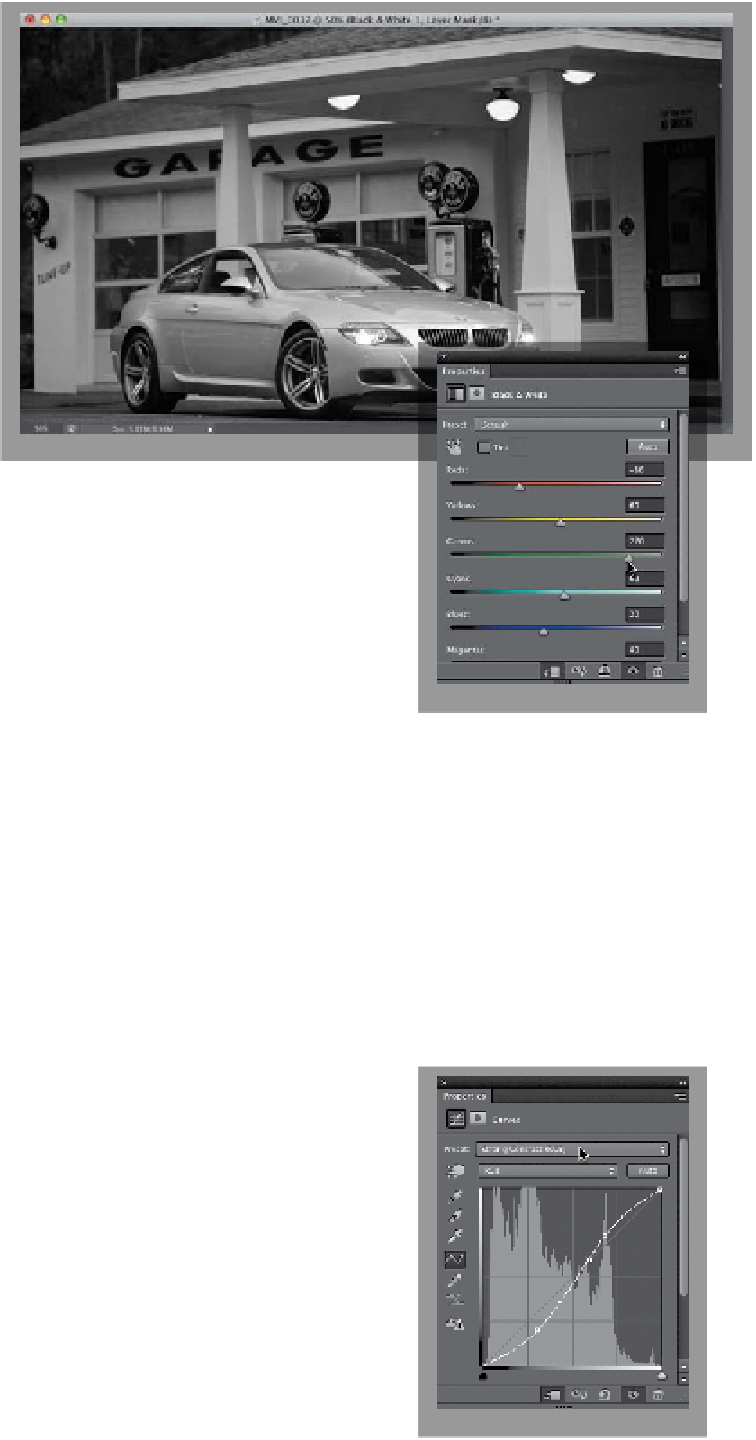
Step Four:
To fur ther illus trate this, let 's add another
adjustment layer. Click on the Create New
Adjustment Layer icon again, but this
time choose
Curves
. Now you can ad-
just the curve any way you'd like (or in this
case, we want to add lots of contrast, so
just choose
Strong Contrast
from the
Preset pop-up menu—it's shown circled
in red here). Notice that it's automati-
cally grouped with your video clip, as well.
Seriously, this is pretty darn amazing that
we can treat moving video just like it was
a still photo (can you tell I am just so dig-
ging this?). Okay, now let's take it up a
notch and leverage this for video.
(Continued)